
To read a map in a car, at speed in the dark, you need a firm surface and something to raise it up close enough to see clearly with your magnifier. (Wait, what? Why? Scroll to the end to find out, but make sure you come back here to see my rally sewing skills in action)
I’ve managed for years by putting the board on a cushion, but it’s time to up my game.
I used the foam from an old sofa cushion and a piece of padding I cut off an old mattress topper to make my map board. It’s about 4” thick tapering to about 3” so the board is angled towards me slightly.
Now one issue is losing critical equipment en route. When your pencil falls into the footwell in the dark, it’s staying there. Likewise with the phone falling through the gap in the seat. I thought the as I was covering my foam base, I would add pockets. And elastic for pens.
Map board mk one
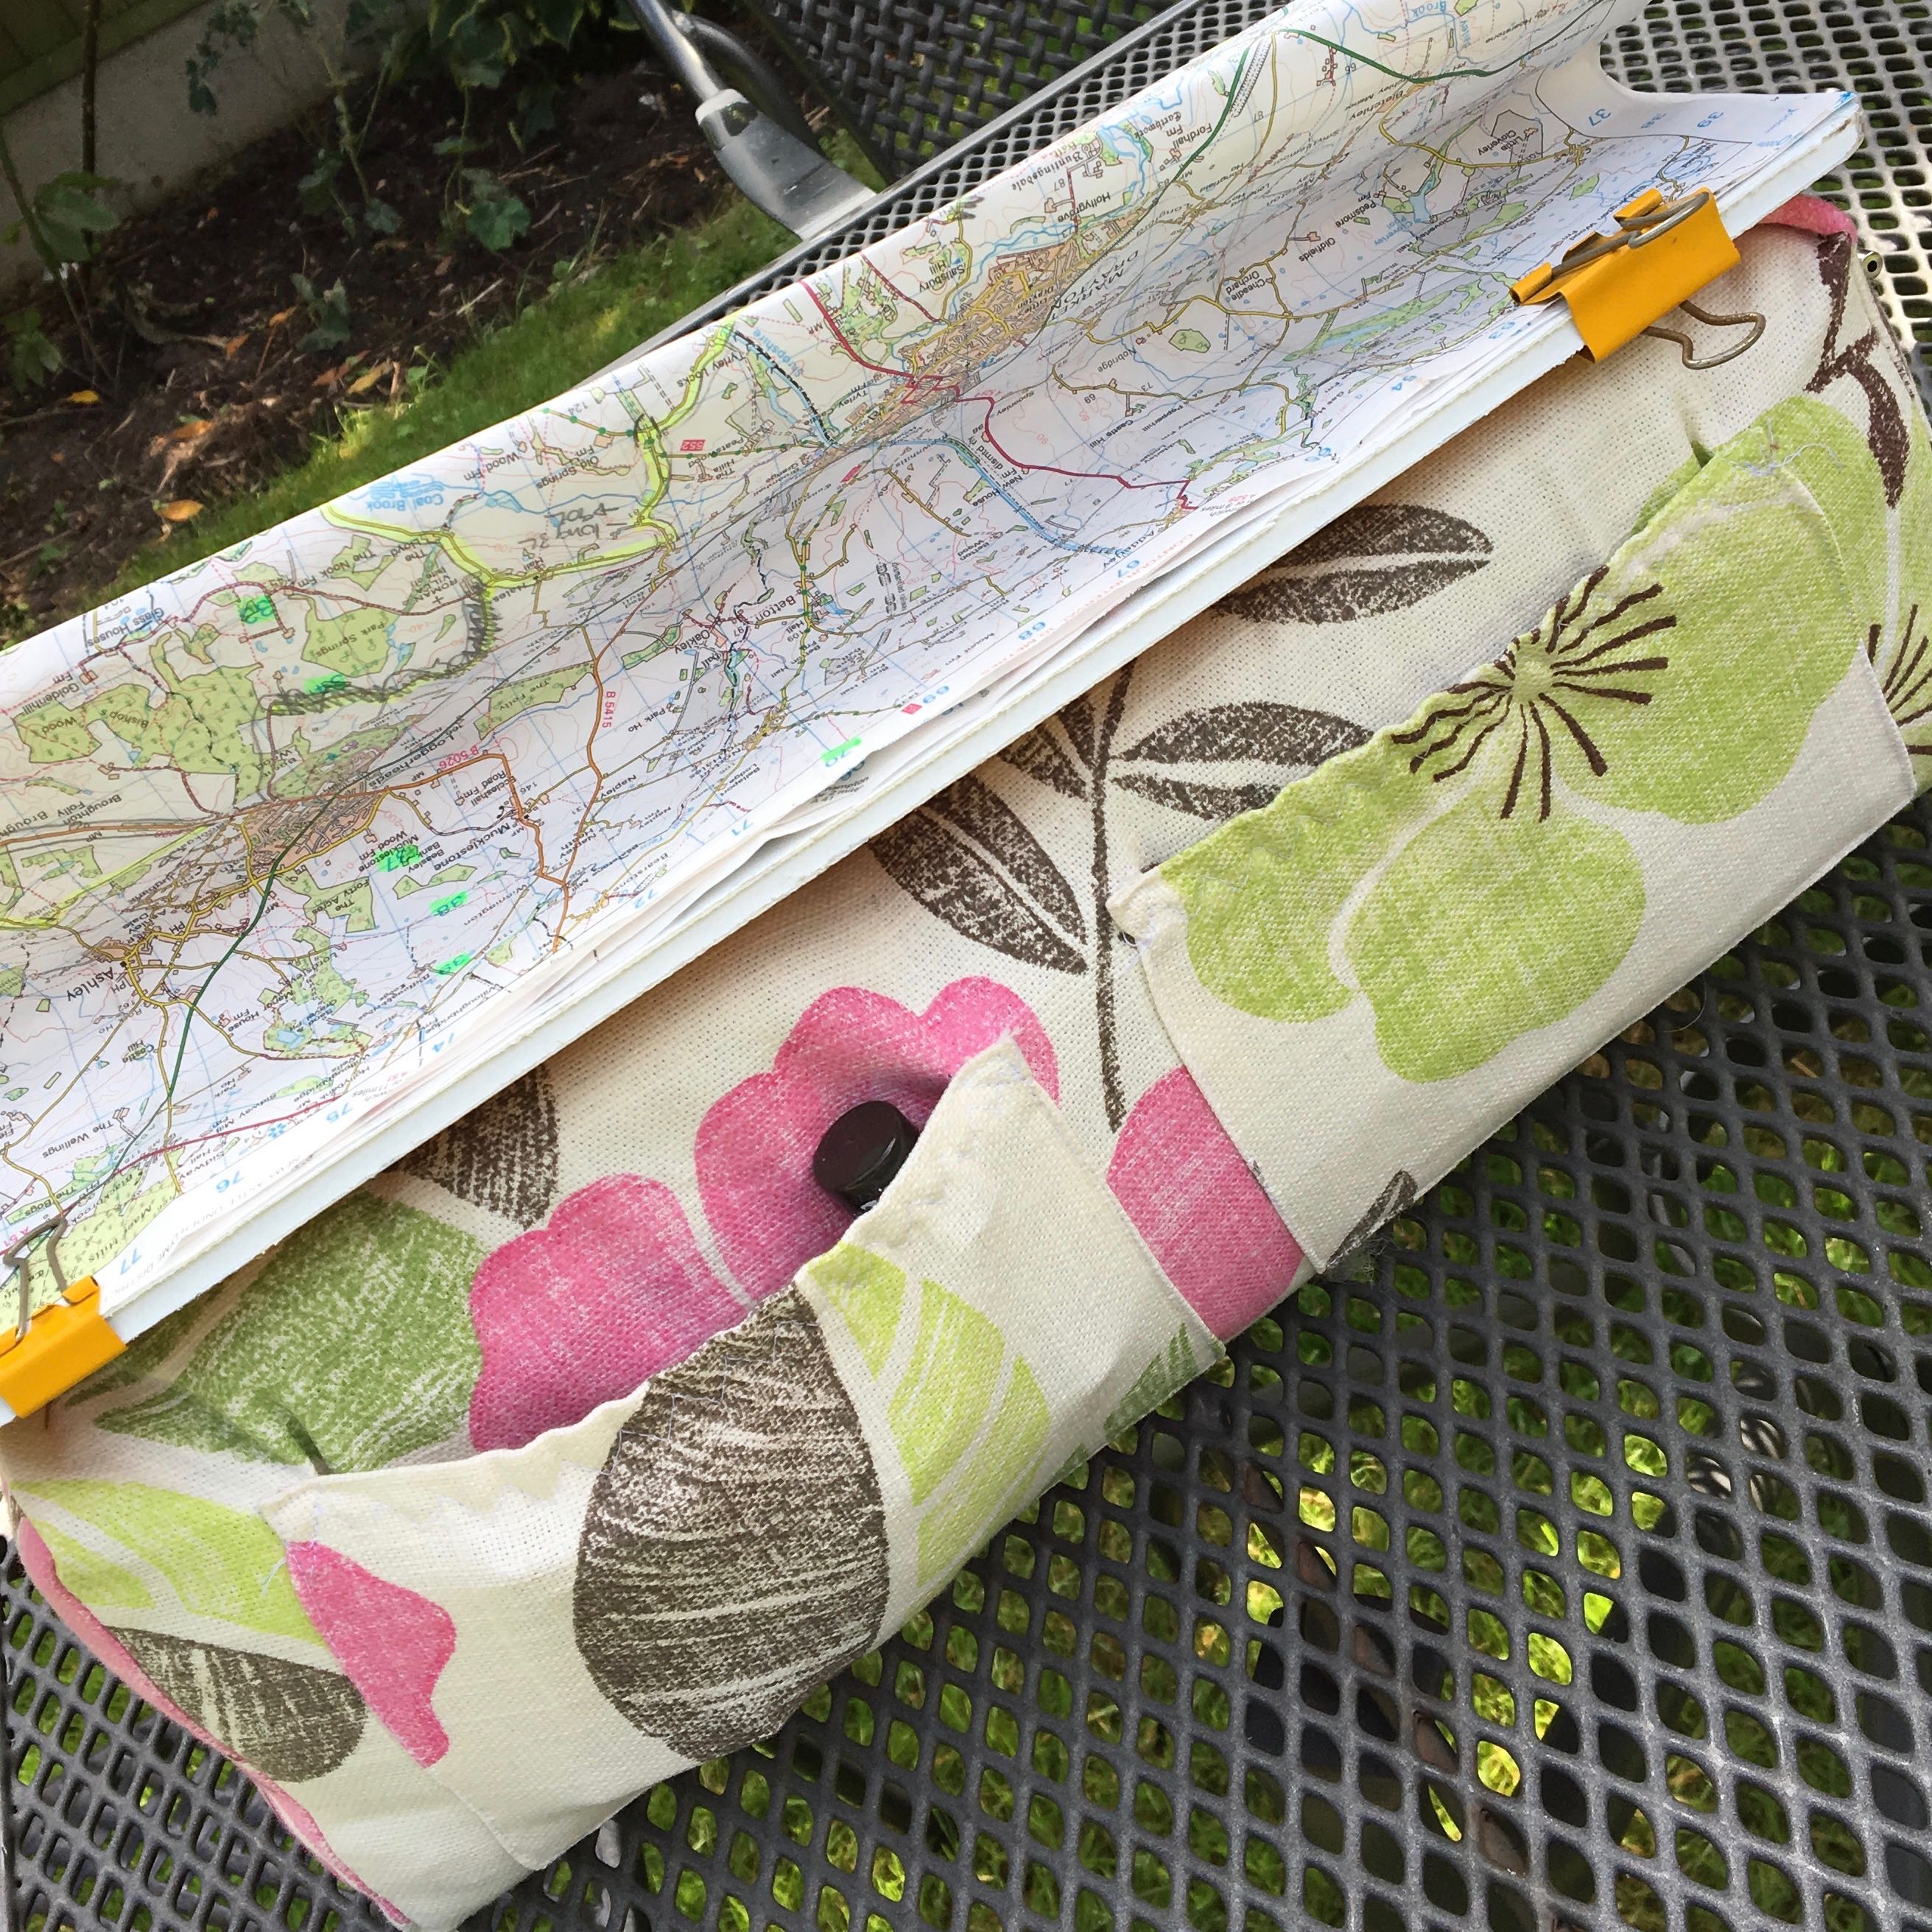
I made this to fit a map board 10.5 x 16 inches, which is a lot smaller than I’m used to, but it’s the size recommended by the legendary Don Barrow, so it had to be tested. Mine is cut from an estate agent’s plastic board, the type with the corrugated core. Firm but light.
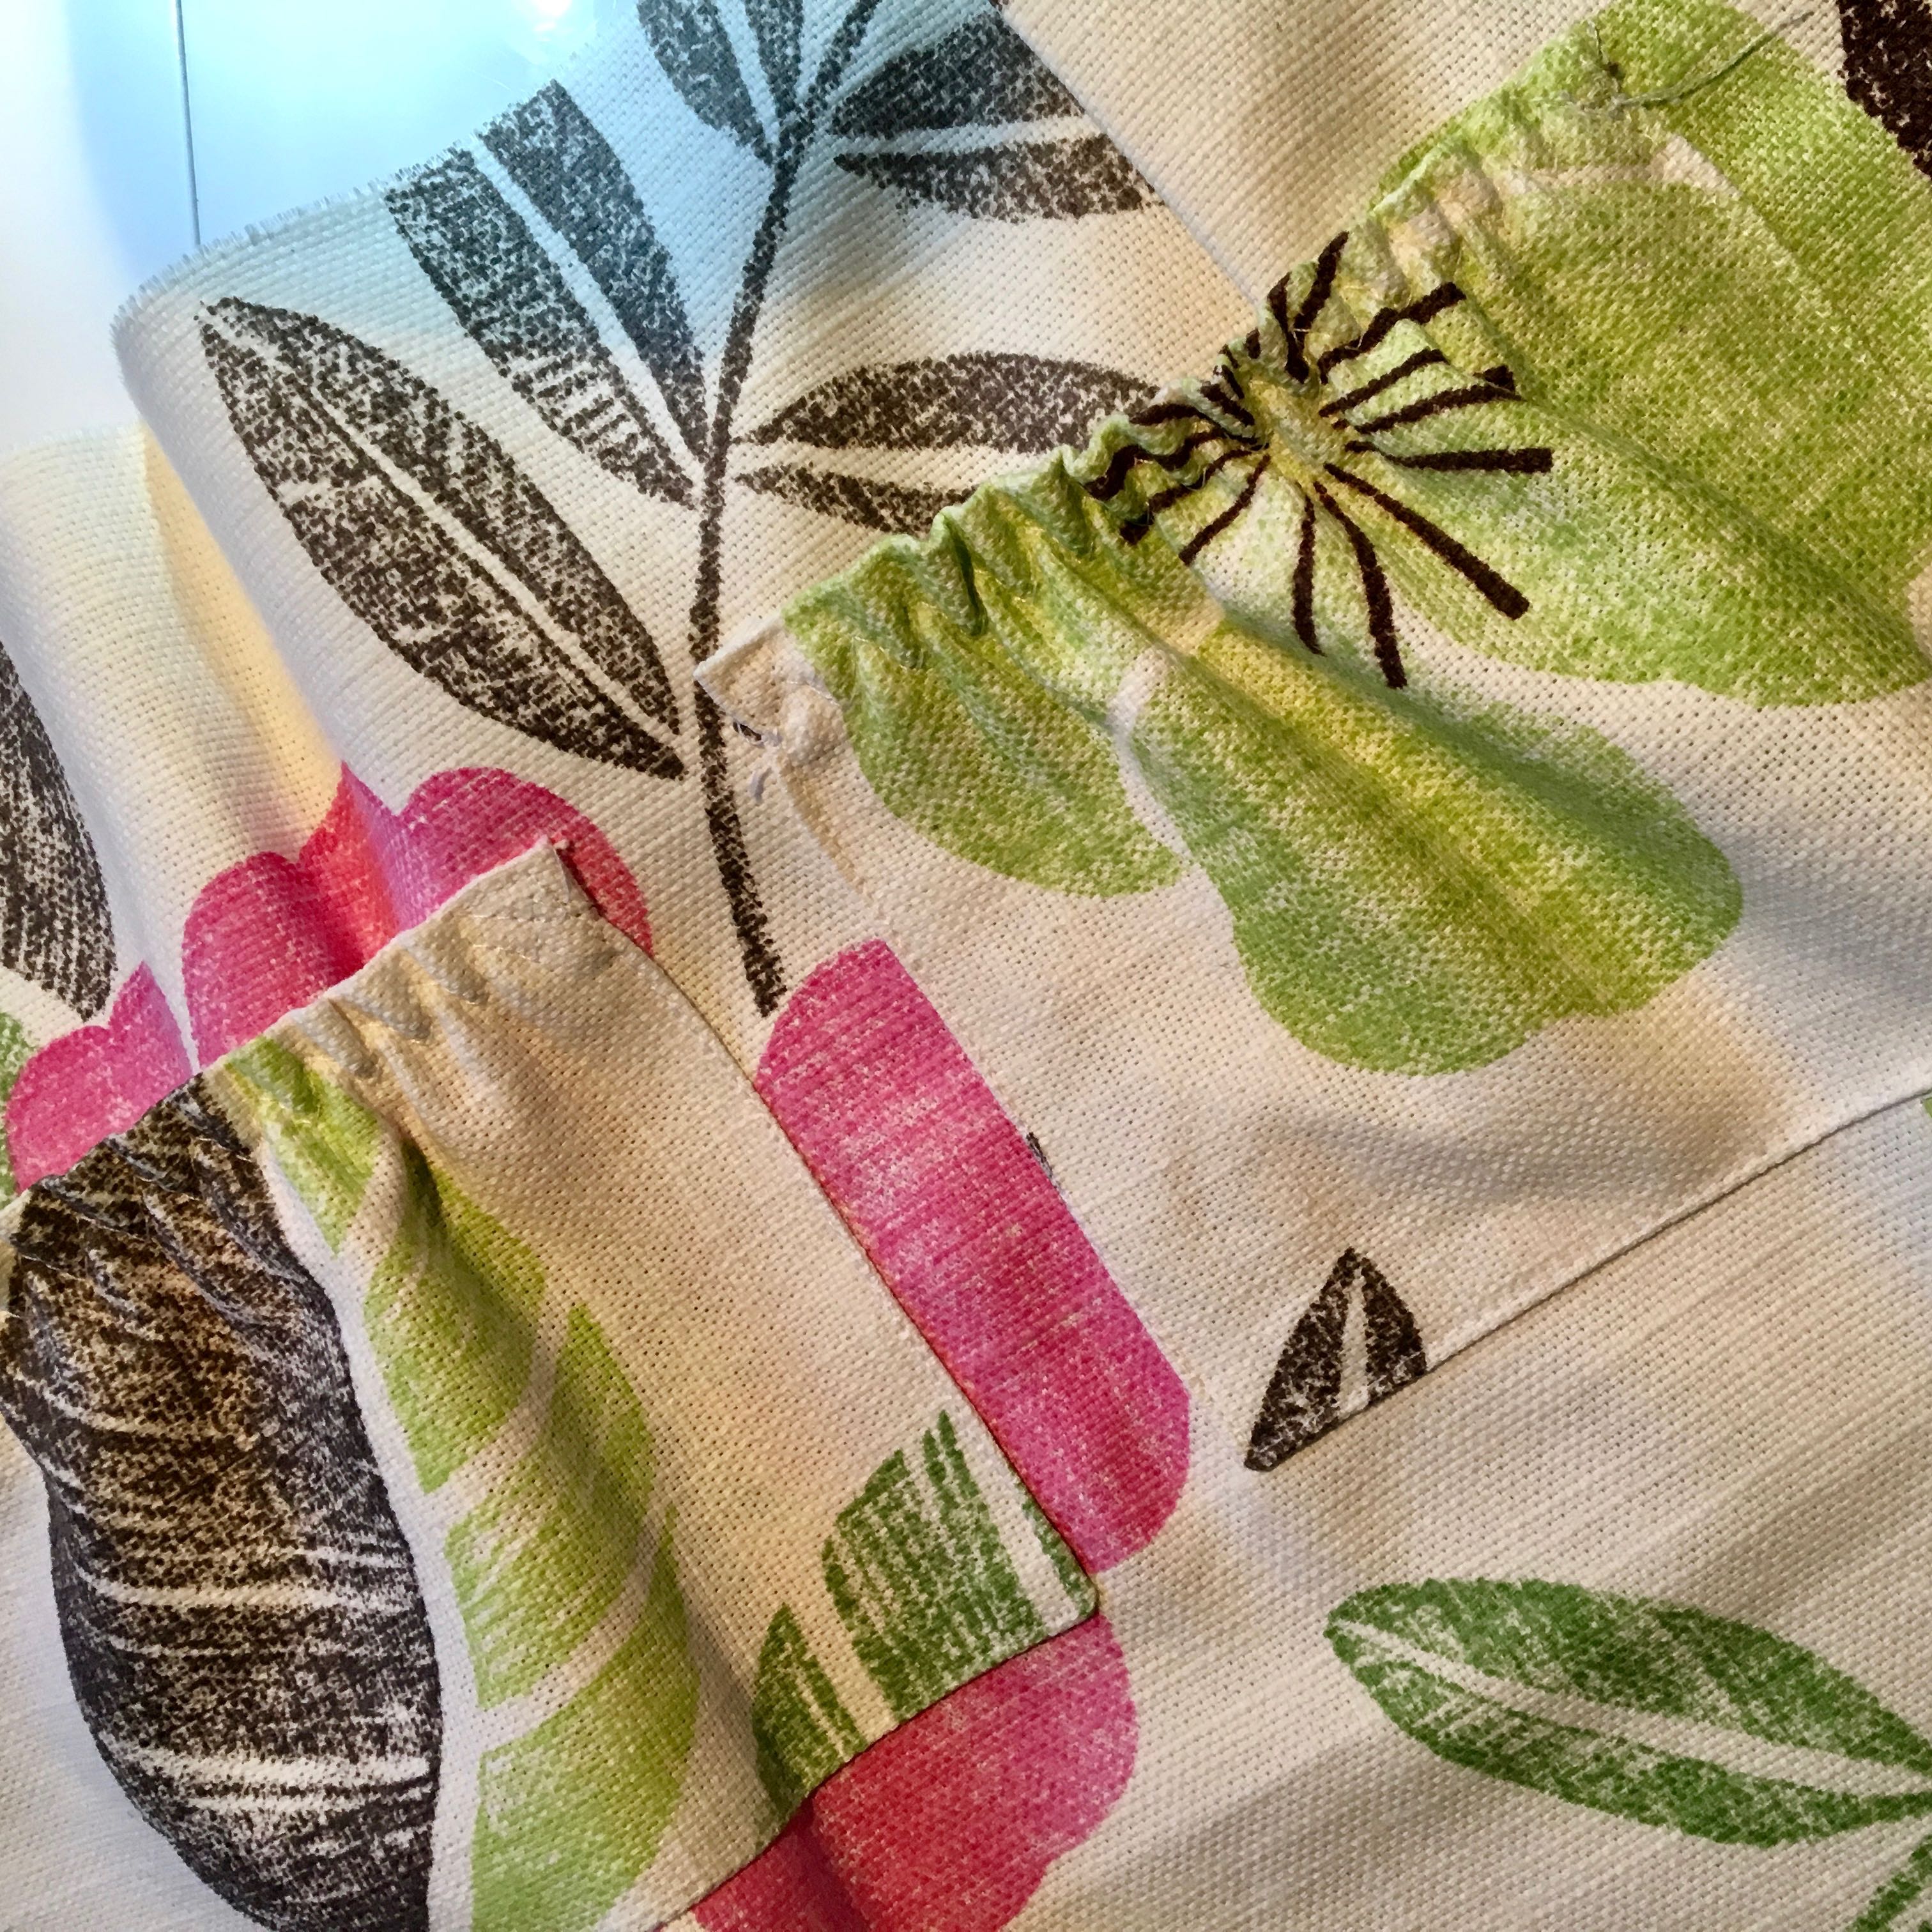
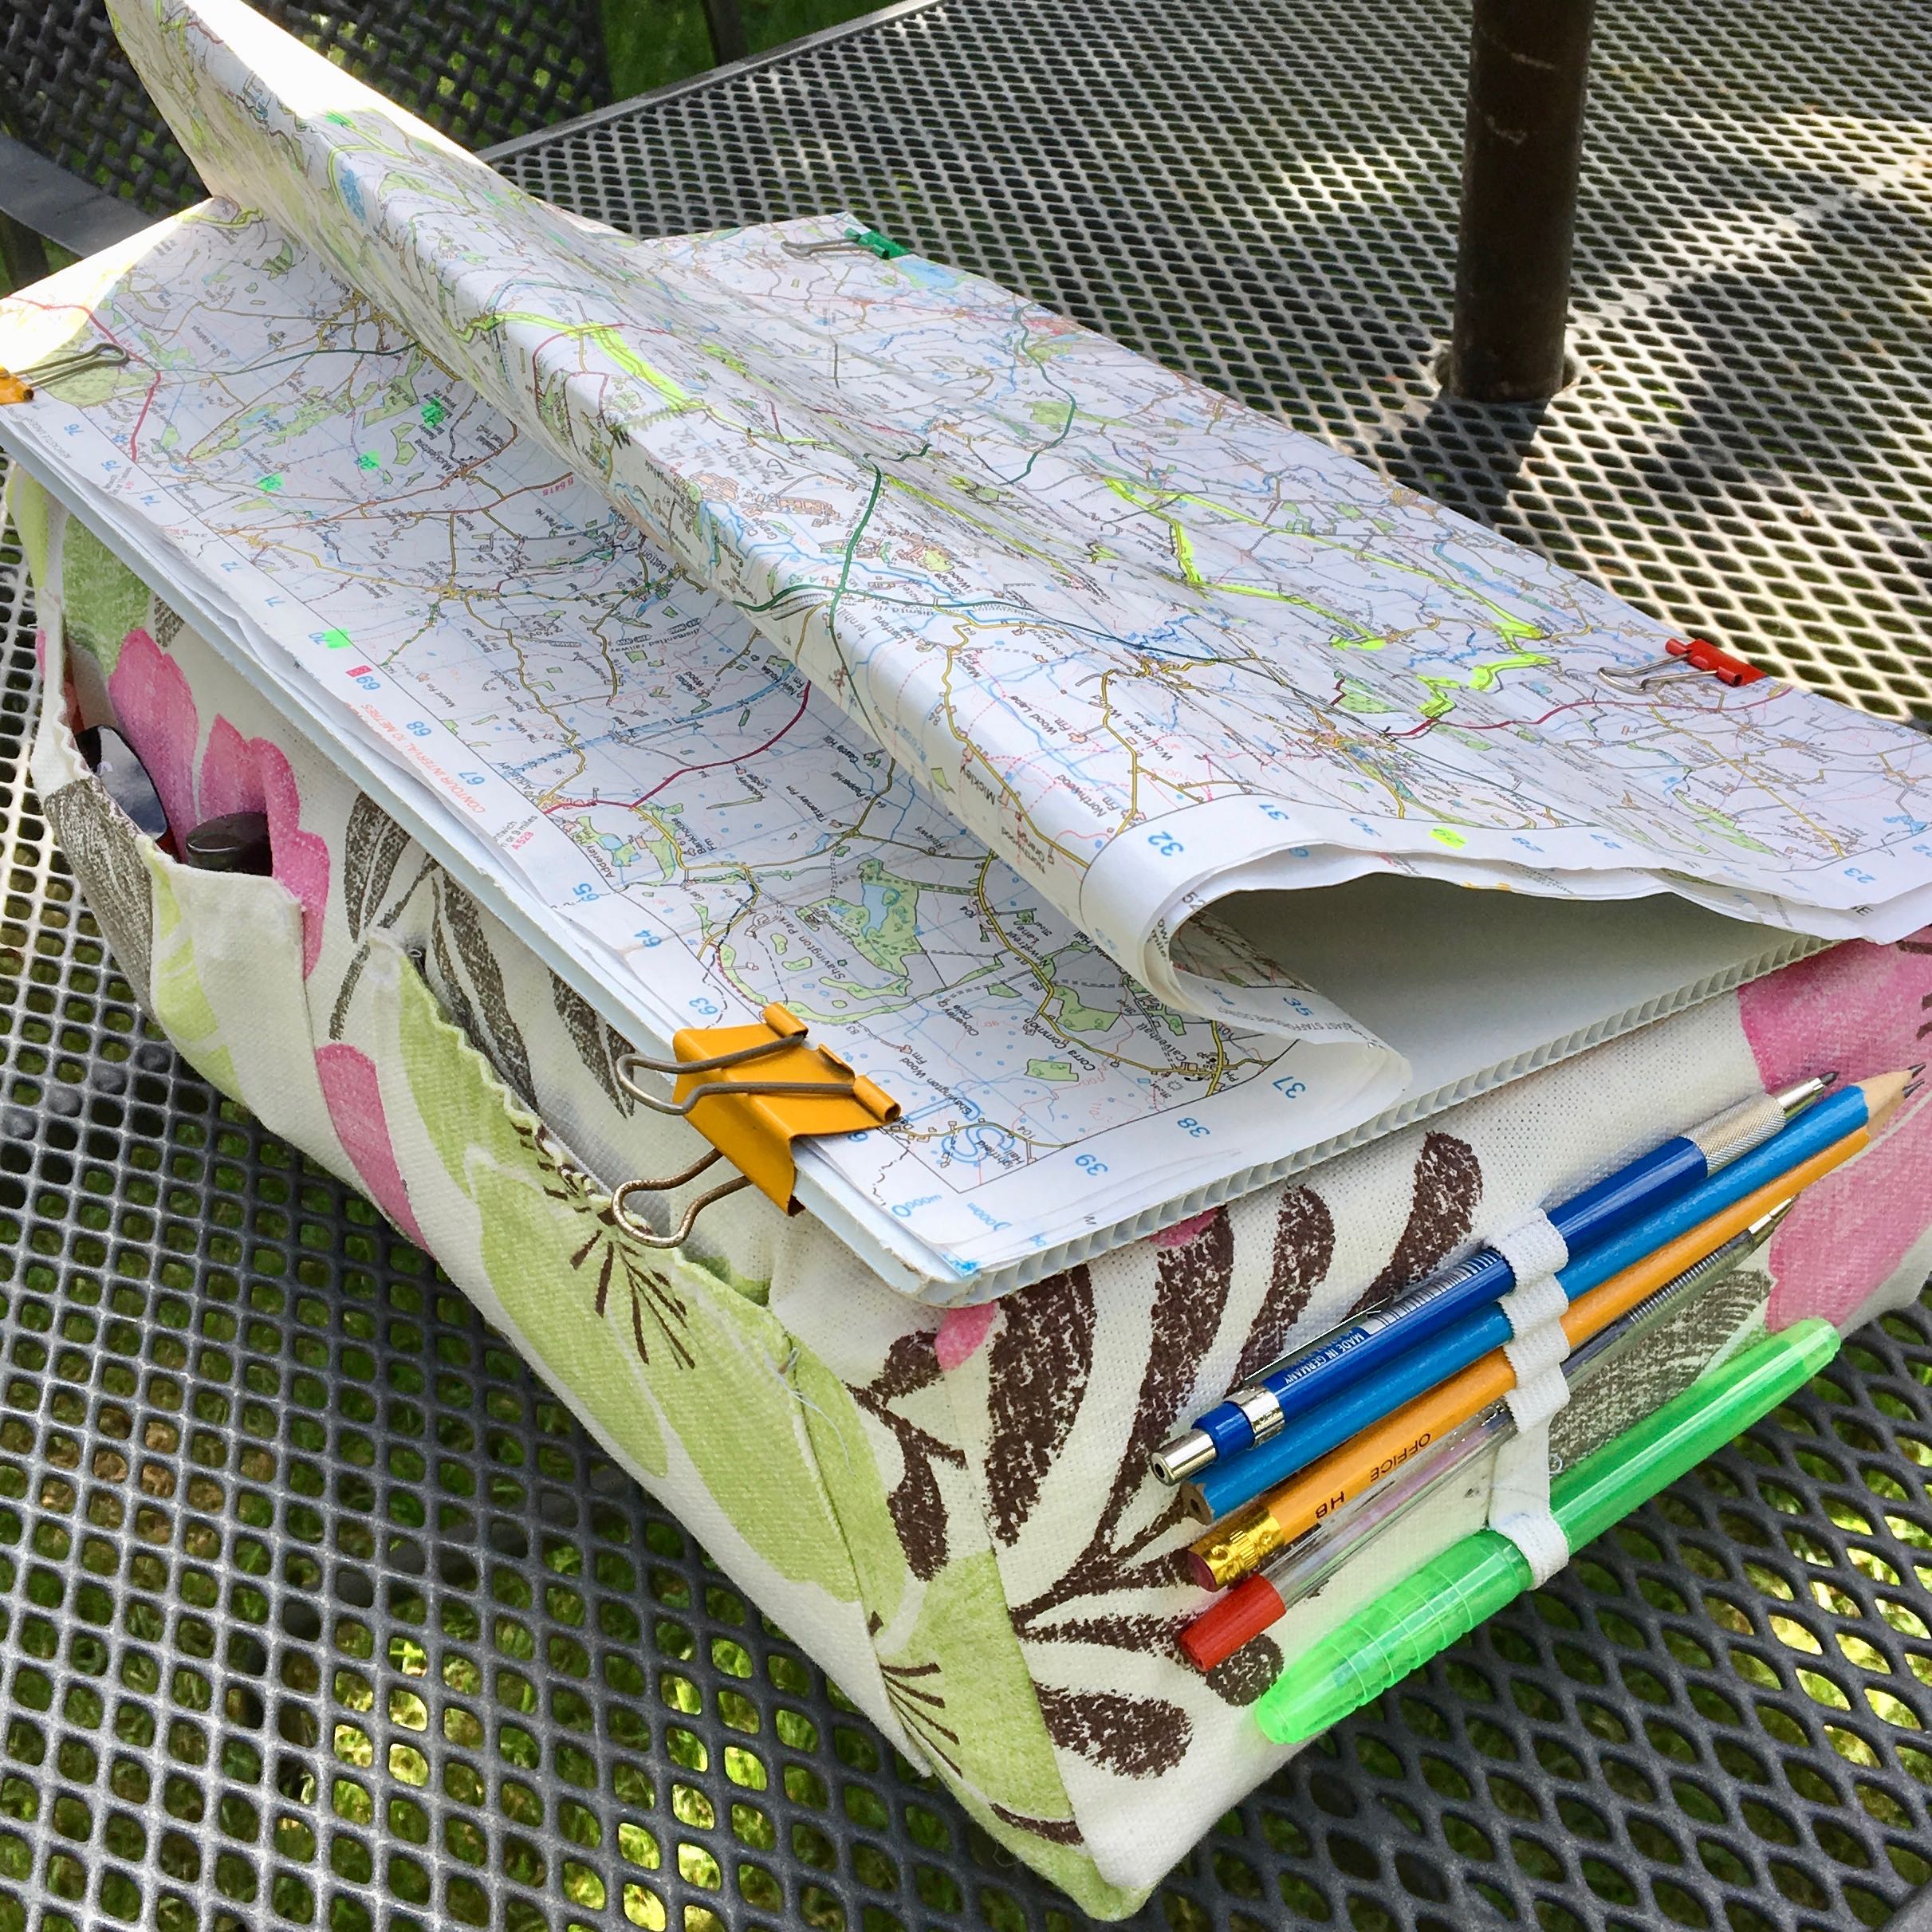
I put two pockets on the front, each one big enough for an iPhone, with an elasticated top edge to keep it snug. The phone goes in one, the other has room for lip balm, mints and tissues. Essential items when you’re out all night.
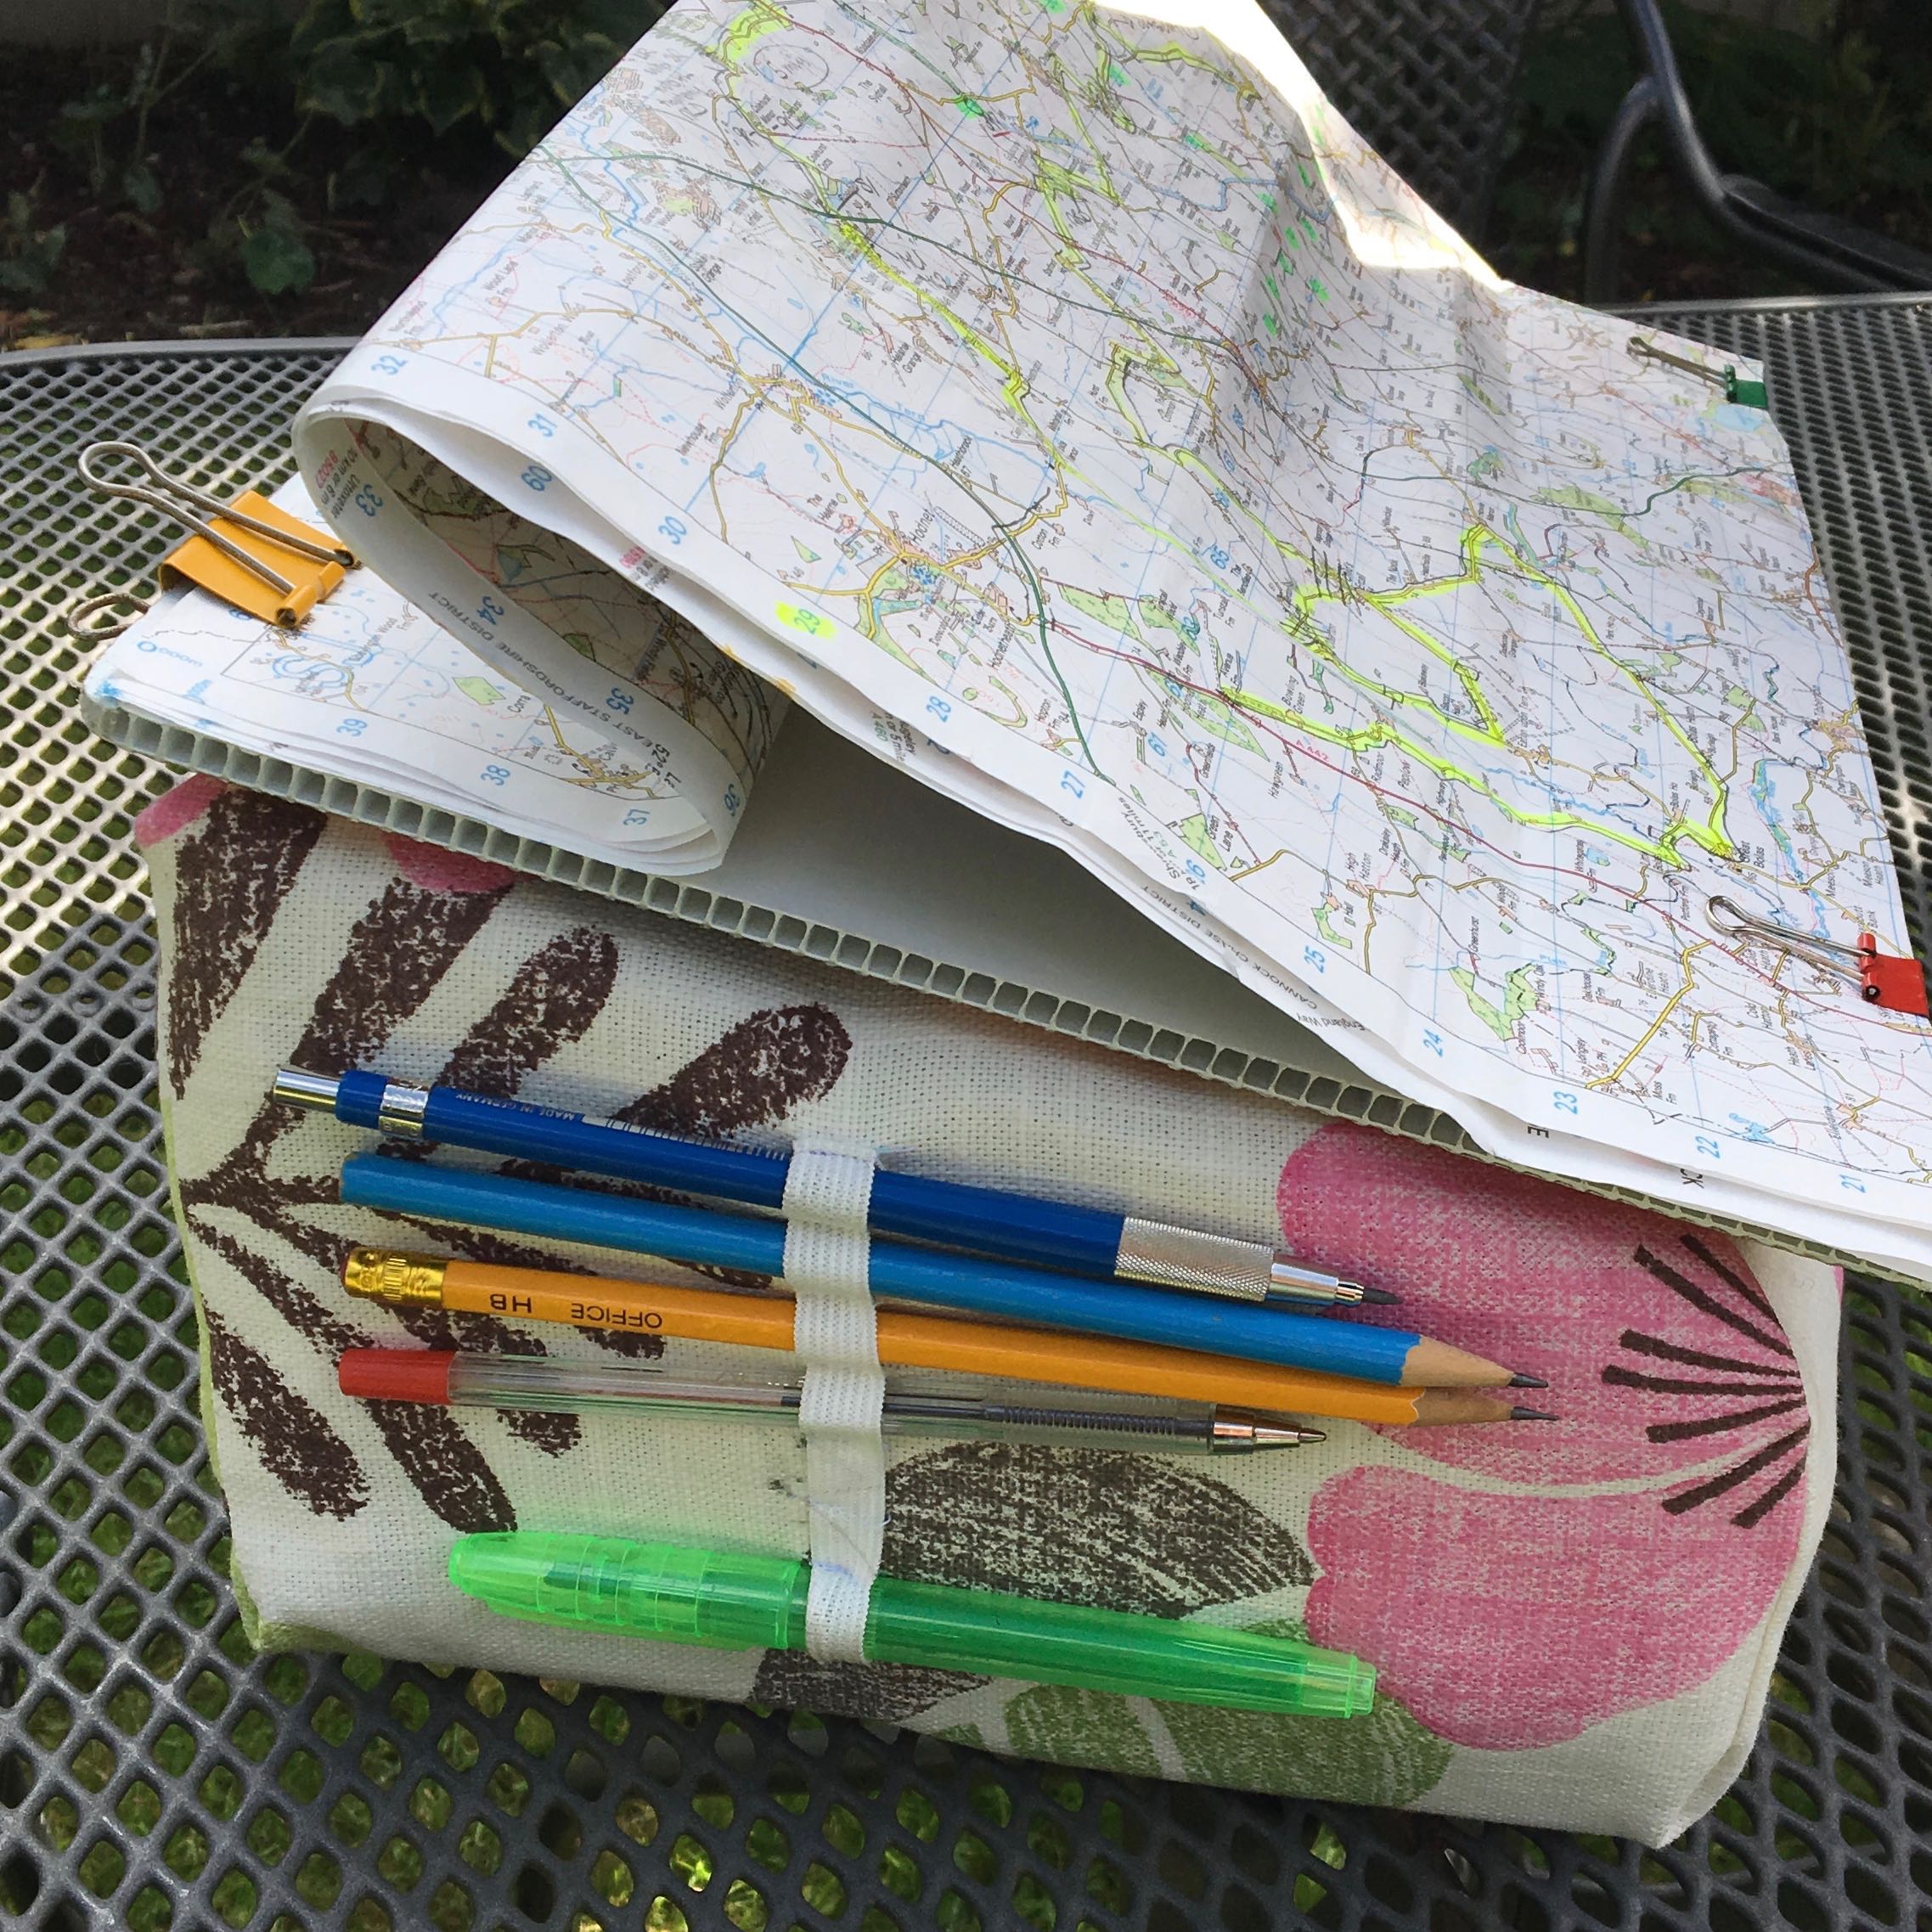
On the left side (I’m left-handed) I stitched elastic loops for pencils and highlighters. Easy to grab and easy to stash. There’s no time to root about in a pencil case once the event has started. You need to get to a pencil for adjusting map markings, a pen in case you need to sign something, and a highlighter for marking important points along the route. My eraser goes in there too, it’s in a pen holder.
On the right side is a long pocket for my power pack, to charge the phone. Nothing worse than being stranded in a Welsh lane at three in the morning with a drained battery. (The issue of a signal is something else)
The first test was a quick spin on an old 12 car route. I forgot the clipboard (essential on a real event) but the height of the pad was perfect. Kept the map nice and close to my old eyes, and the foam absorbed the worse of the rattling. Shropshire lanes aren’t the smoothest, and rally car suspension is, um, firm.
In case you want to make something similar for the navigator in your life, this is what I did. Actually, it would make a handy lap tray too, for stashing whatever it is you need in order to do your preferred chair-based activity.
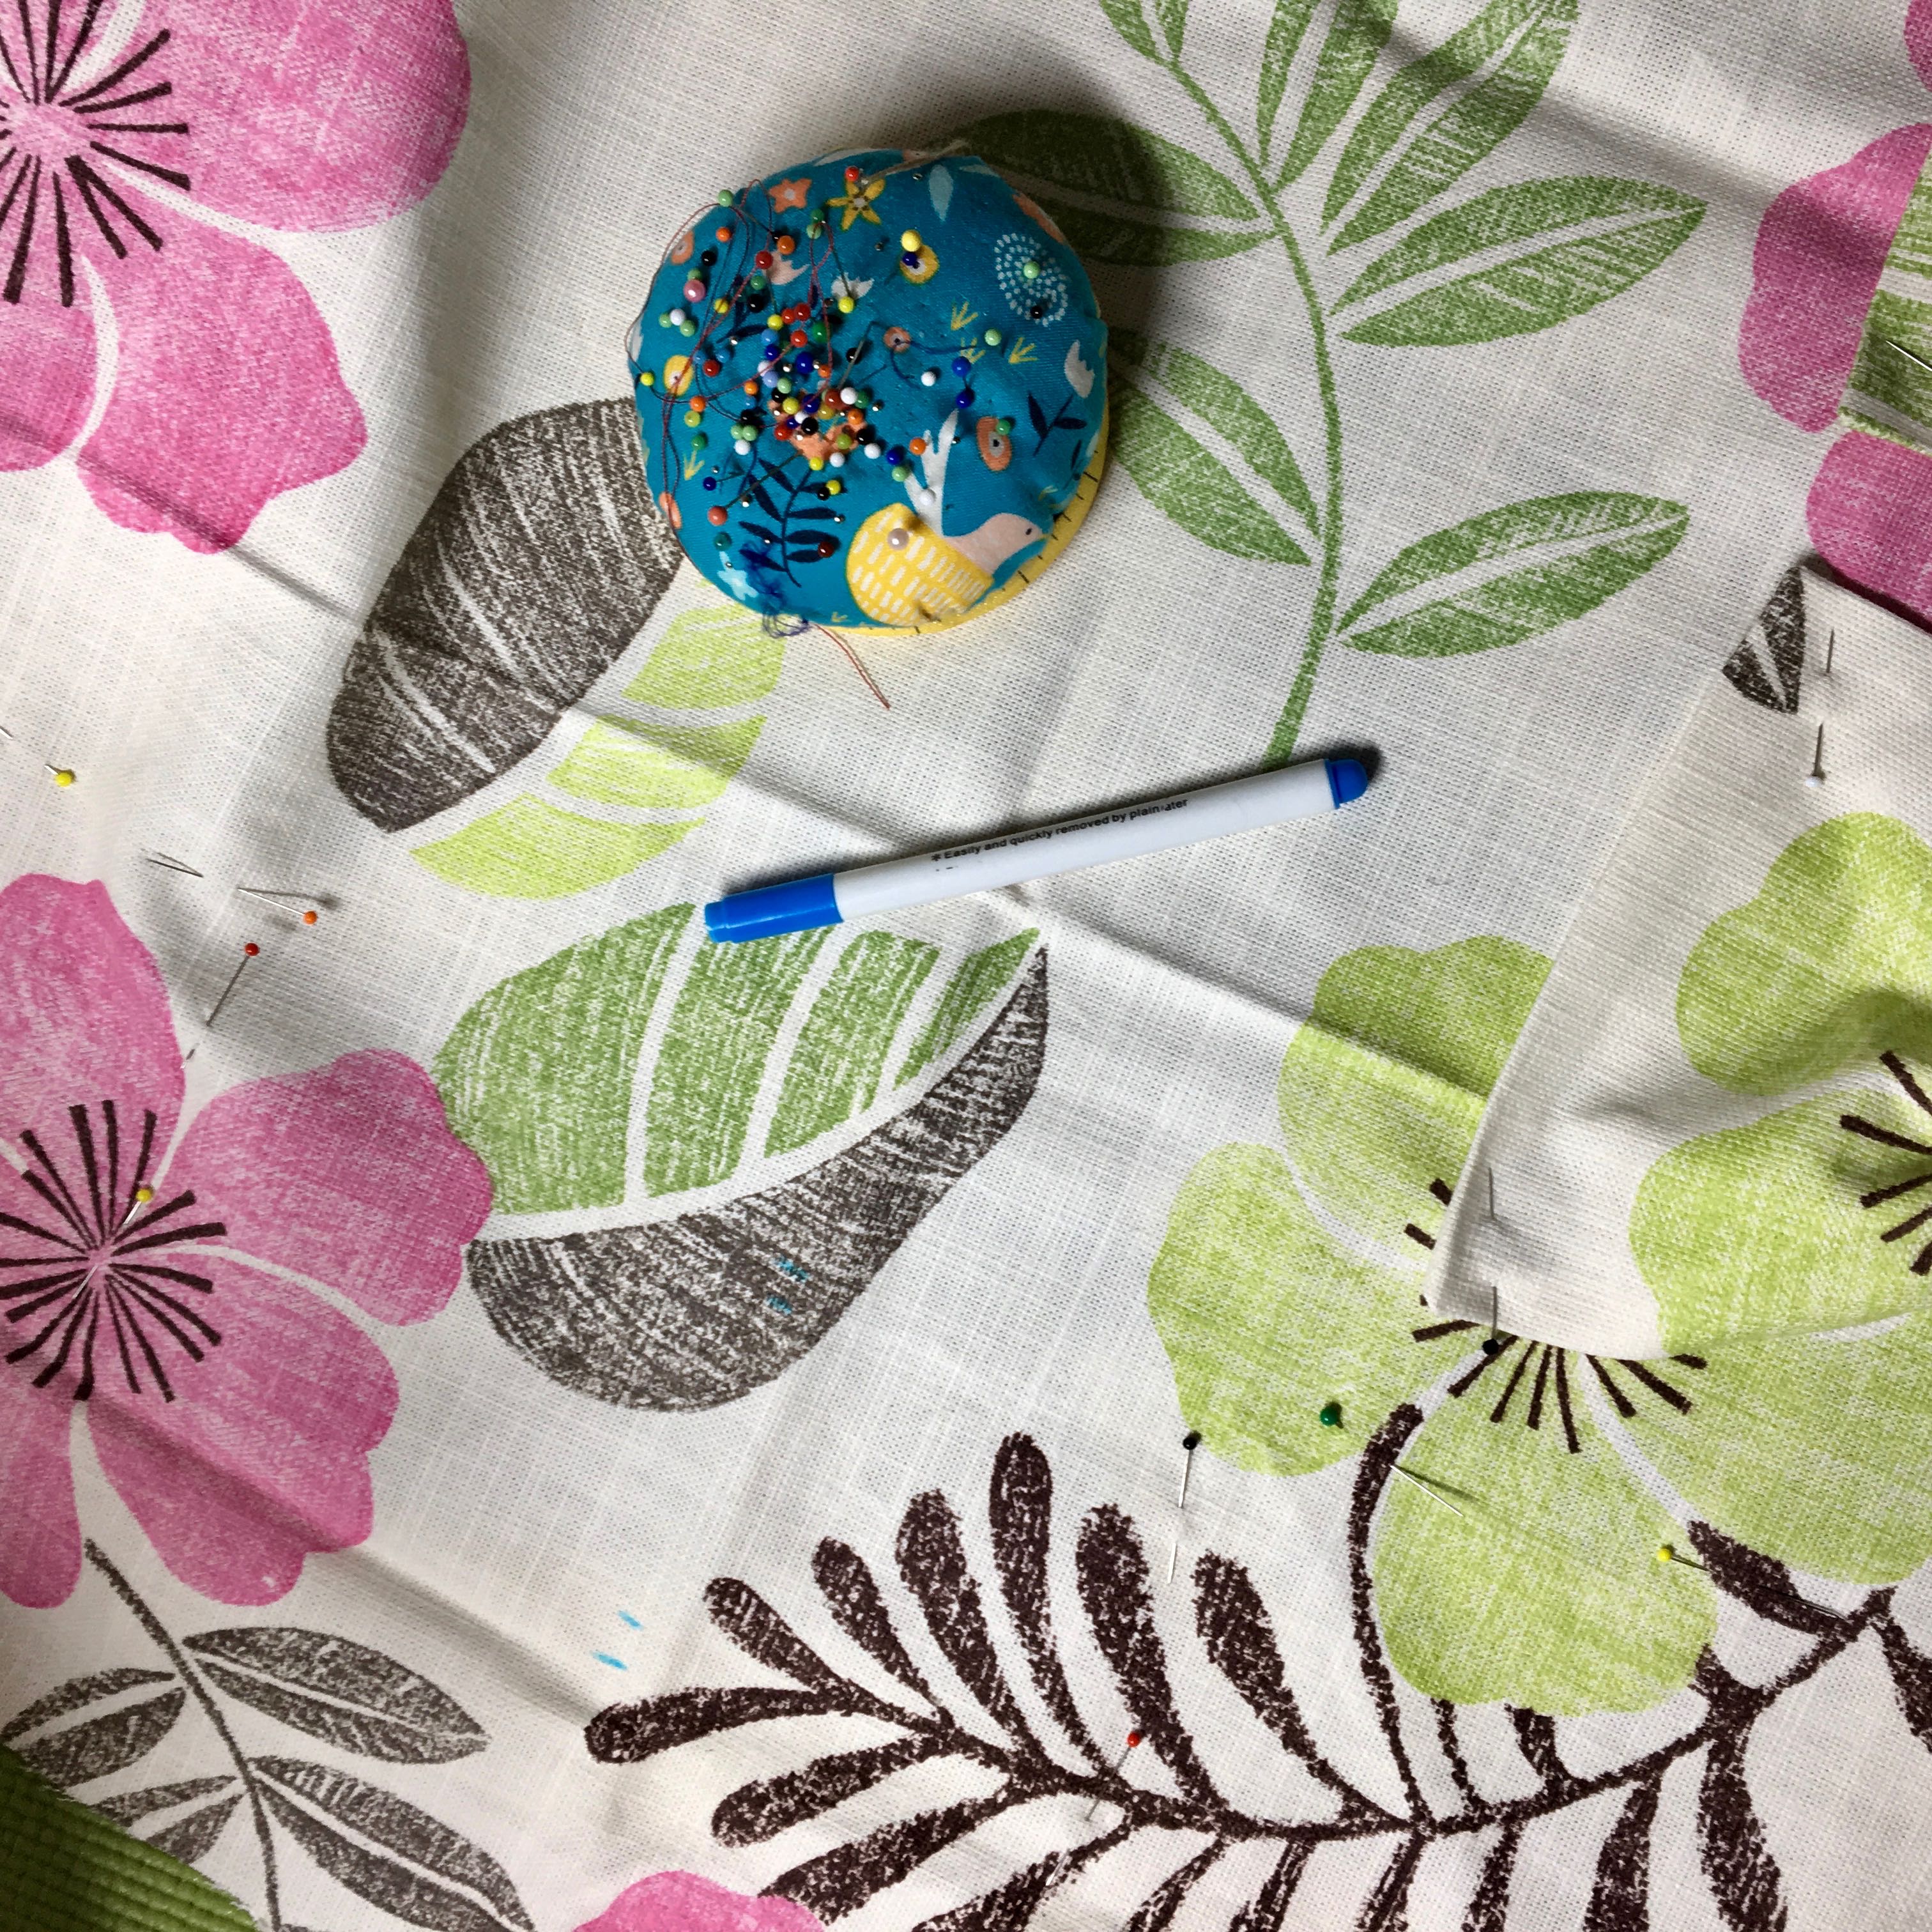
I wrapped the fabric around the foam and pinned the corners into mitres.
Then I made the two pockets and pinned them into place.
Step-by-step elasticated patch pockets
- Cut your fabric with 5mm extra all around. Press down 5mm on the top edge.
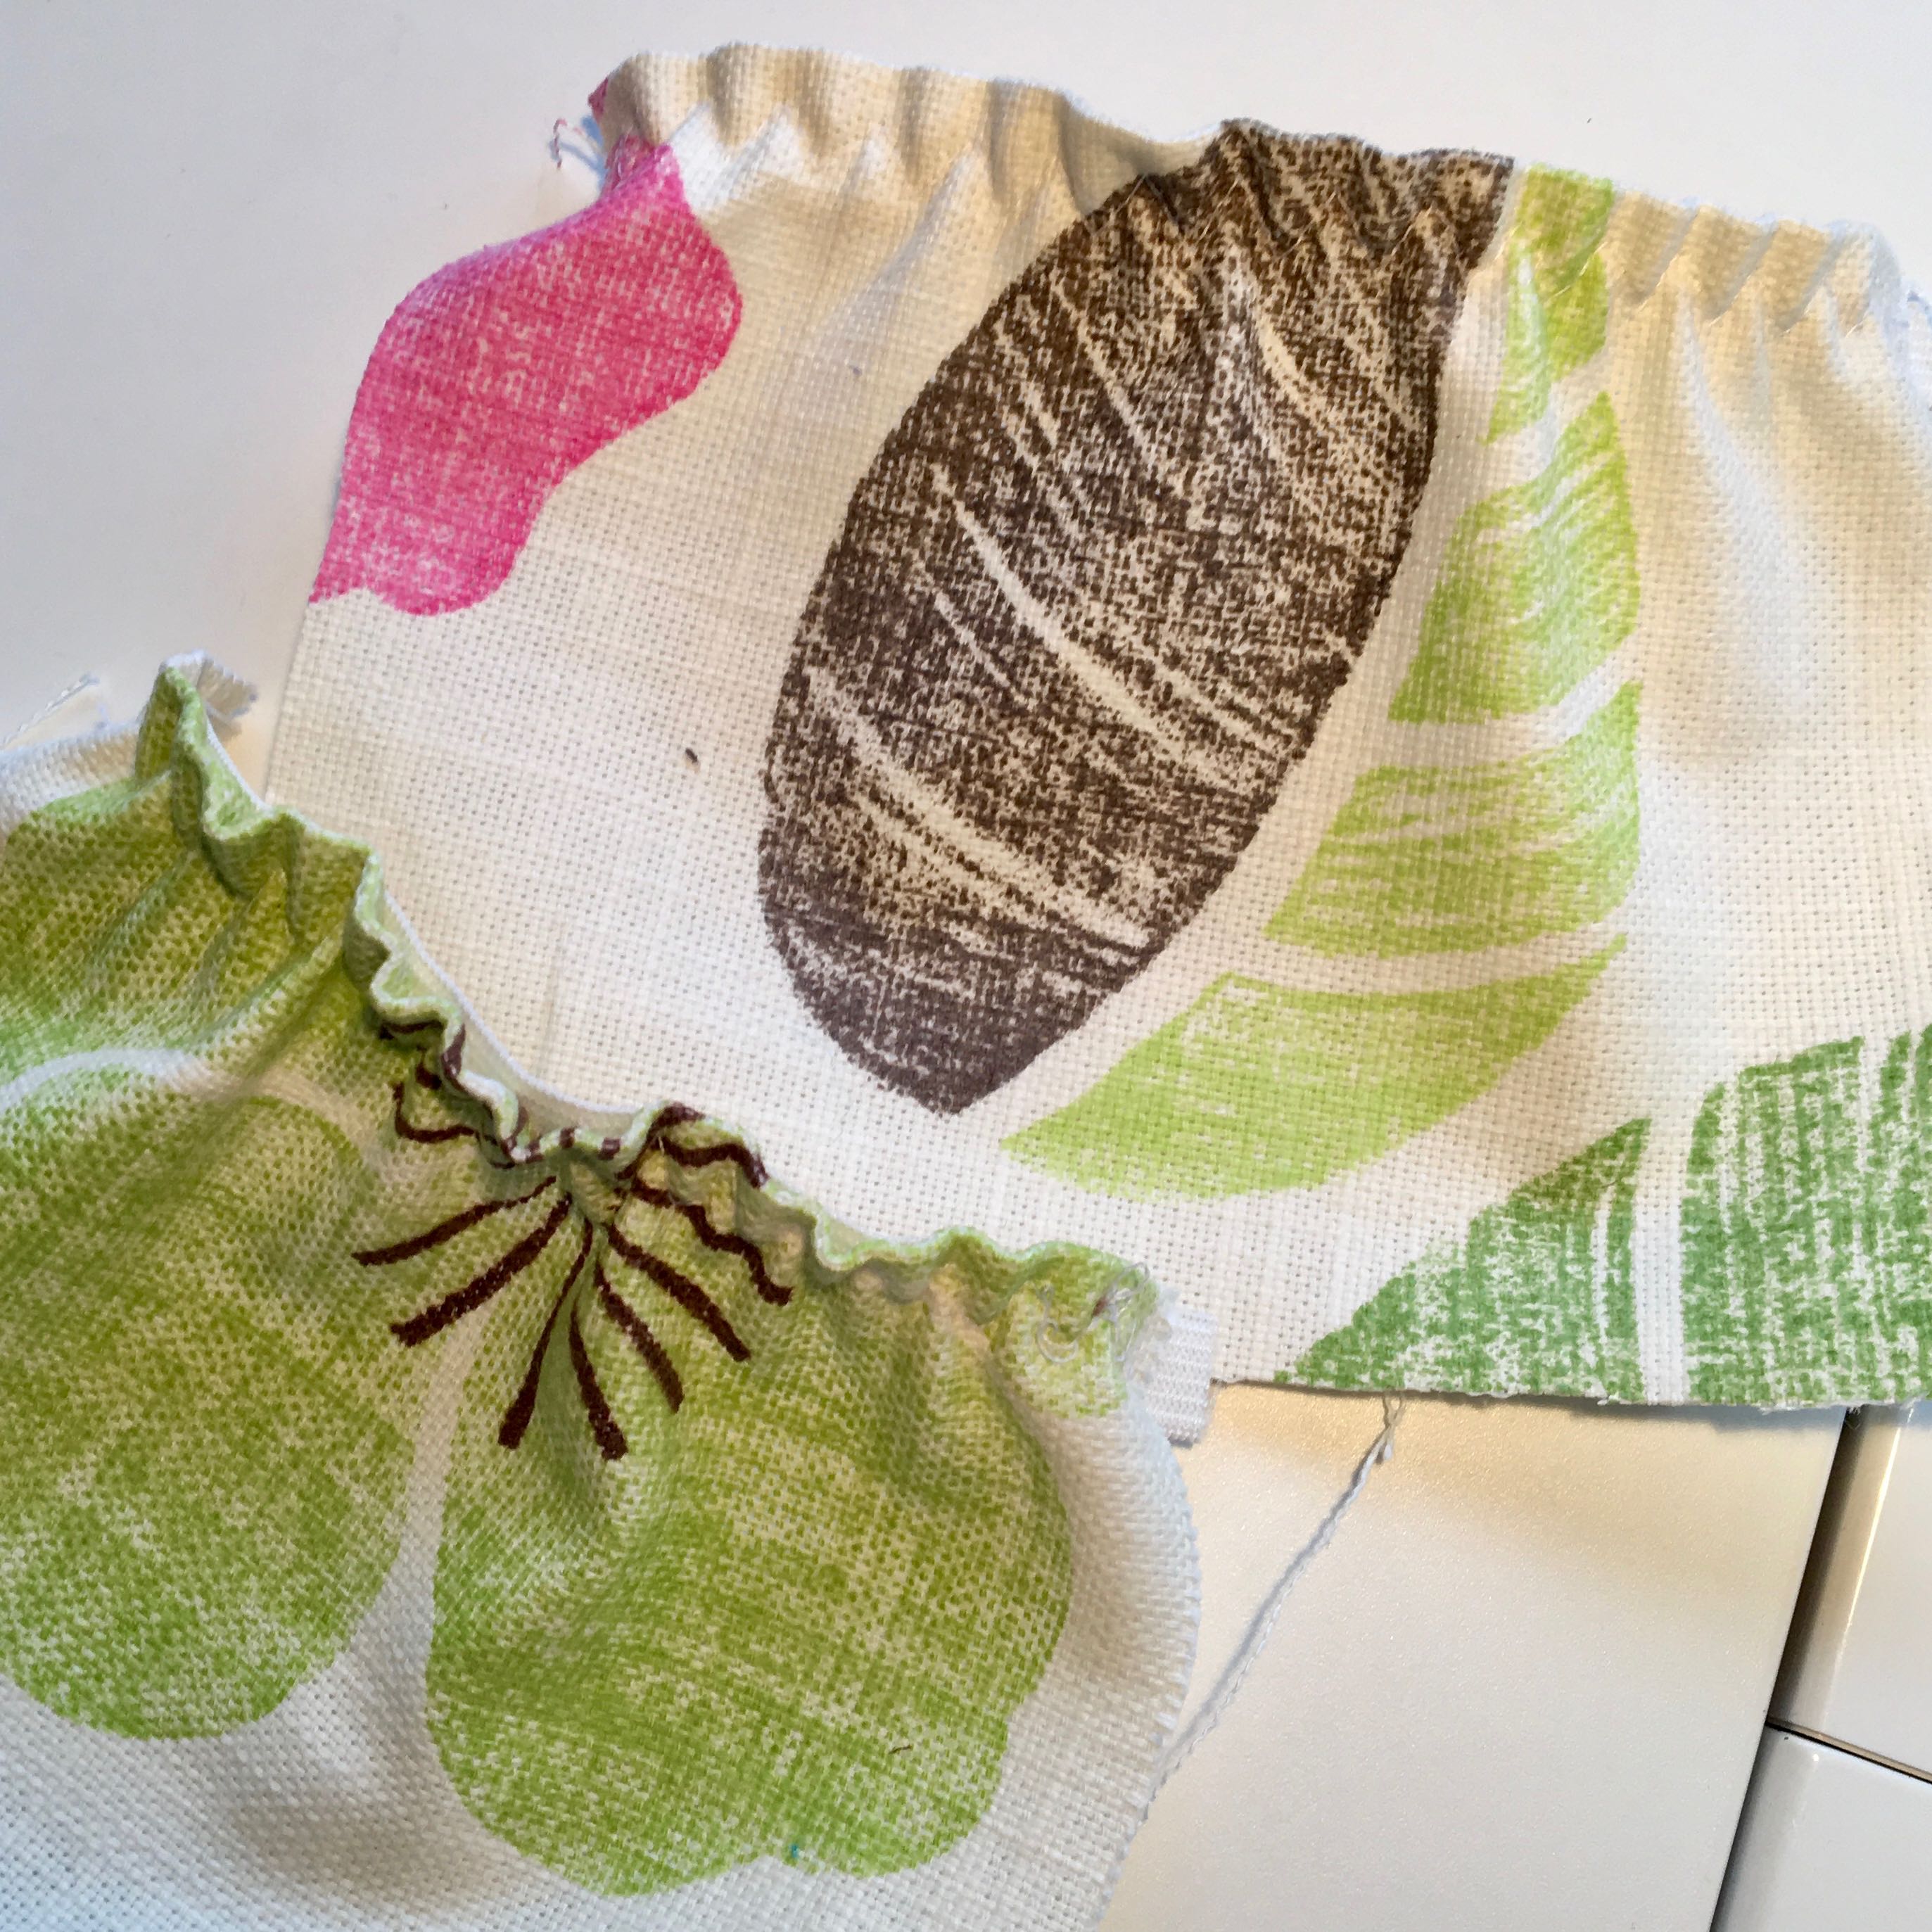
- On the wrong side, use a three-step zigzag to sew 1cm wide elastic along the top edge. Stretch the elastic as you stitch.
- Press under 5mm on the remaining three edges. I mitred the corners; it reduces bulk and makes a neat corner.
- Pin the pocket in place. I did this with the fabric wrapped on the foam. Easy to see where I wanted them to go.
- Sew around the three sides of the pocket, reinforcing the stitching at each end of the elastic. (I stitched a triangle).
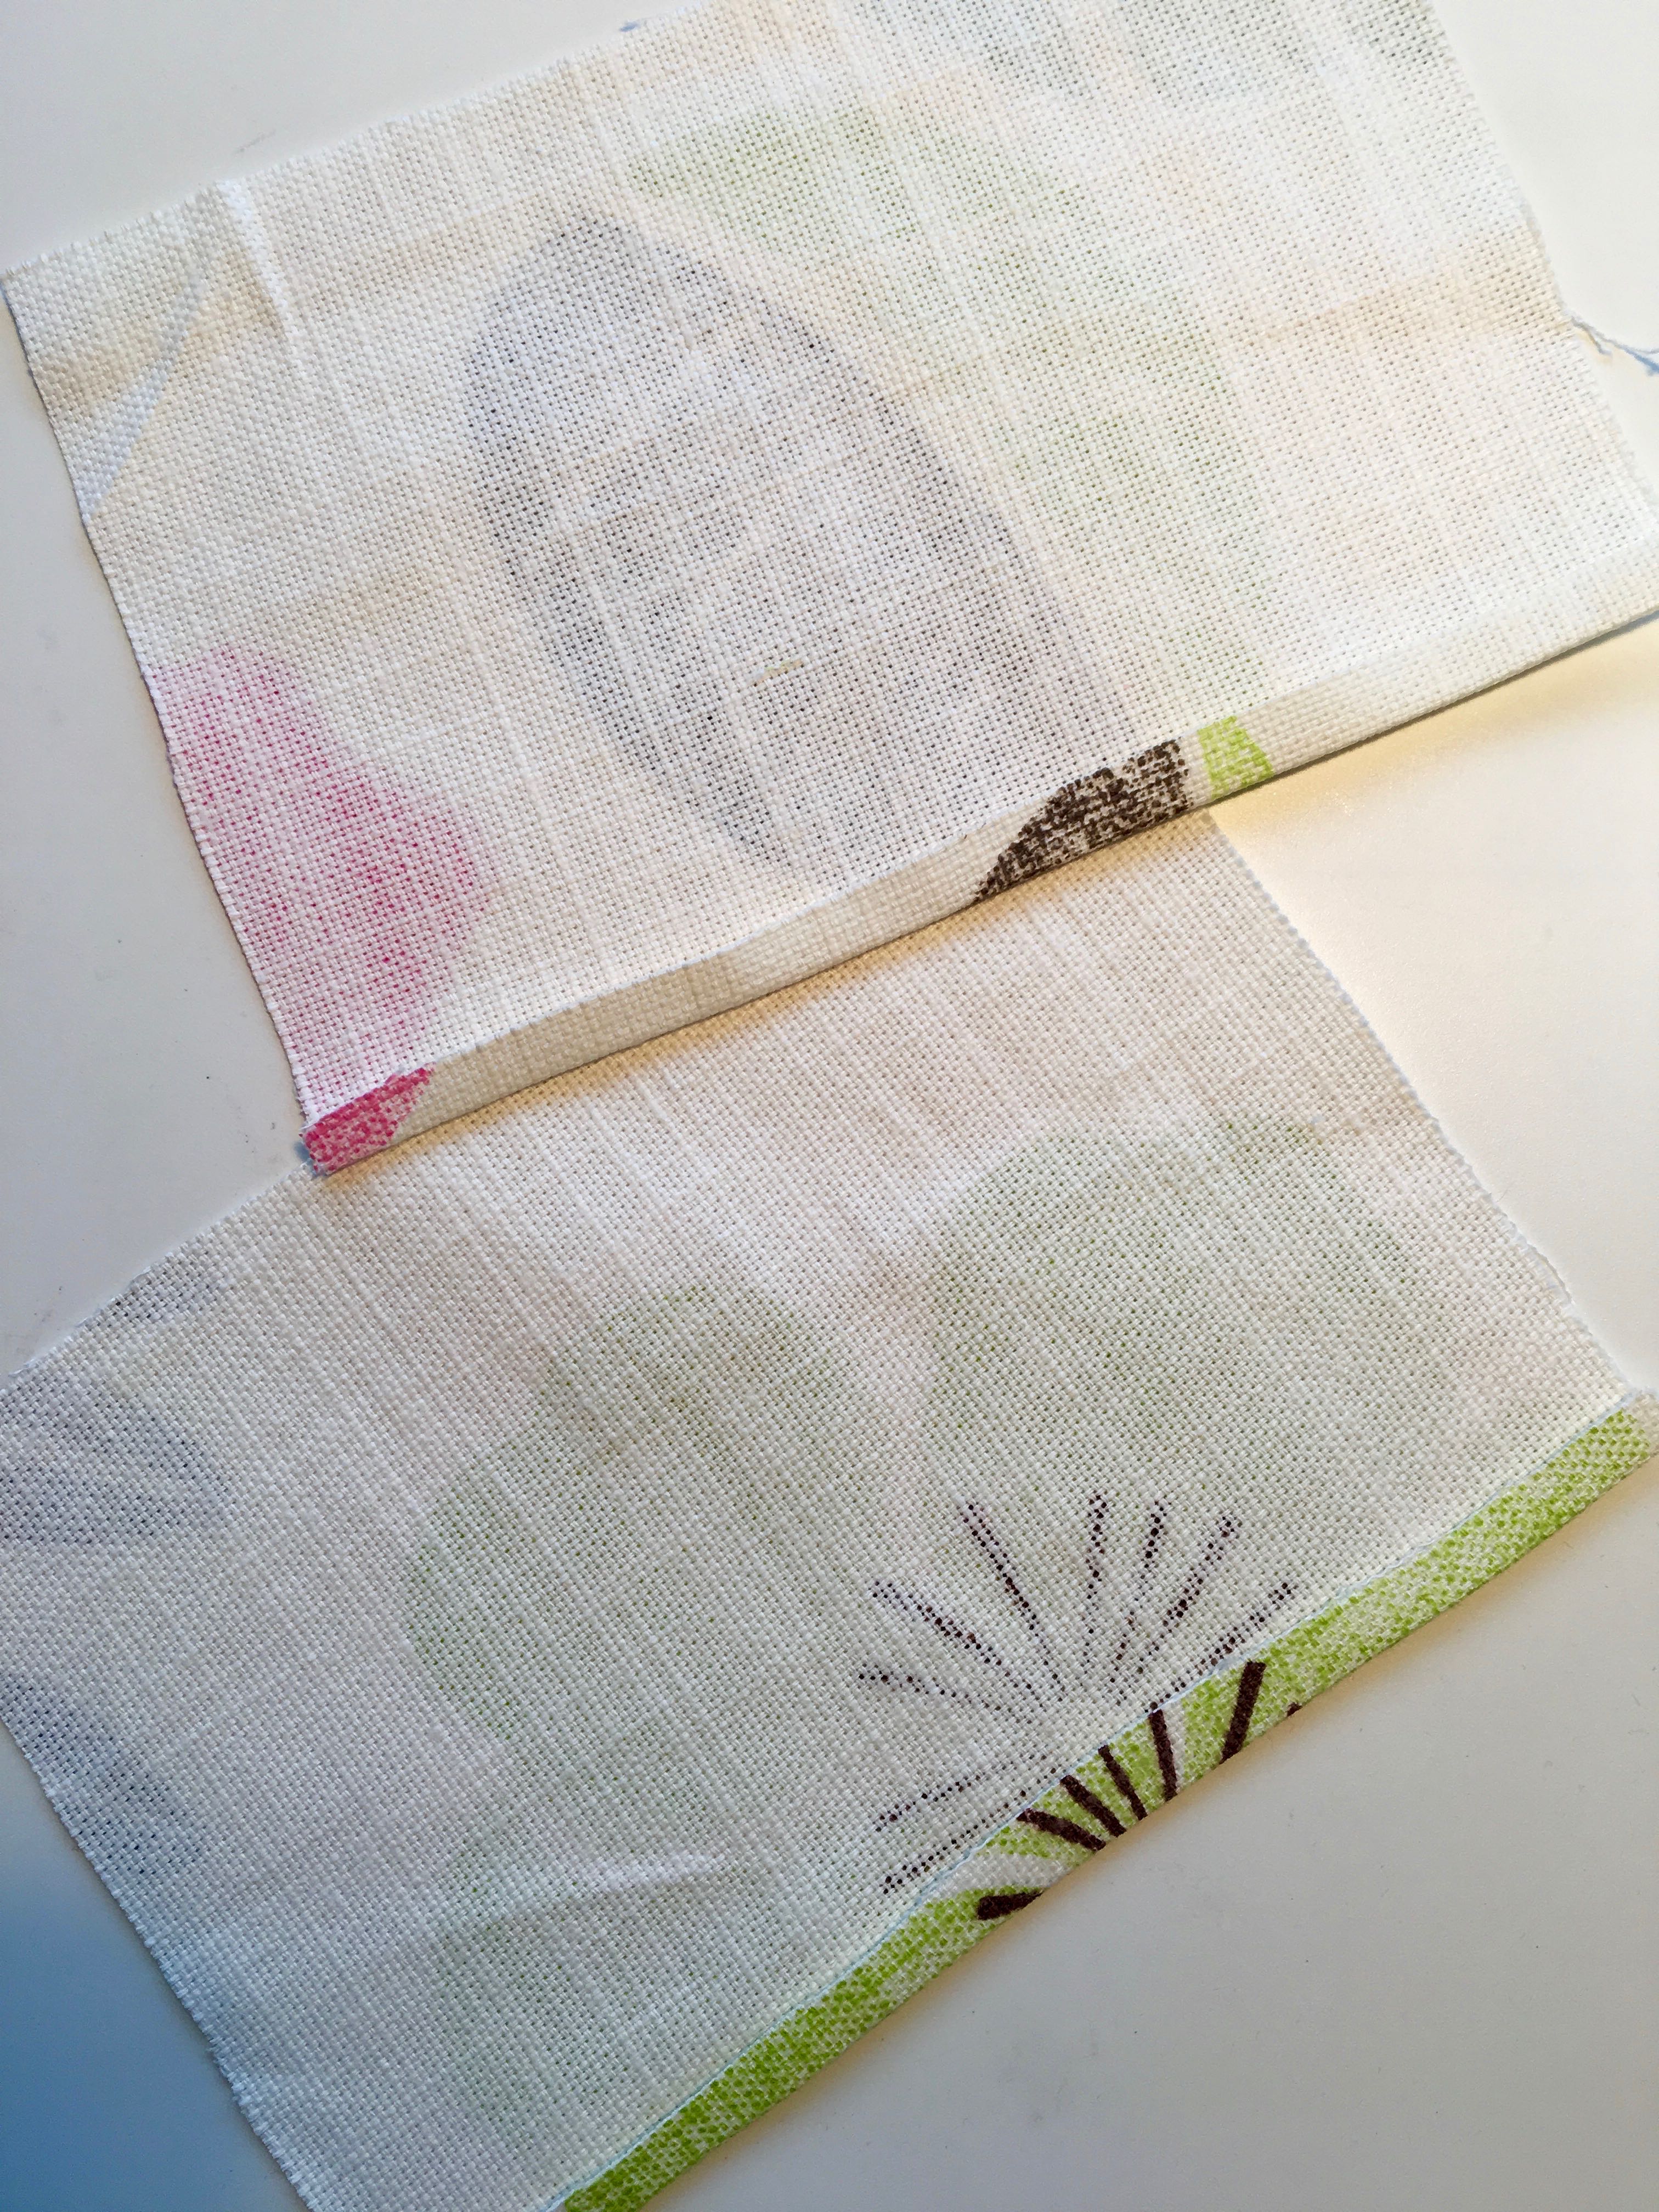
Top edge pressed under

Elastic stitched on
Top edge, right side
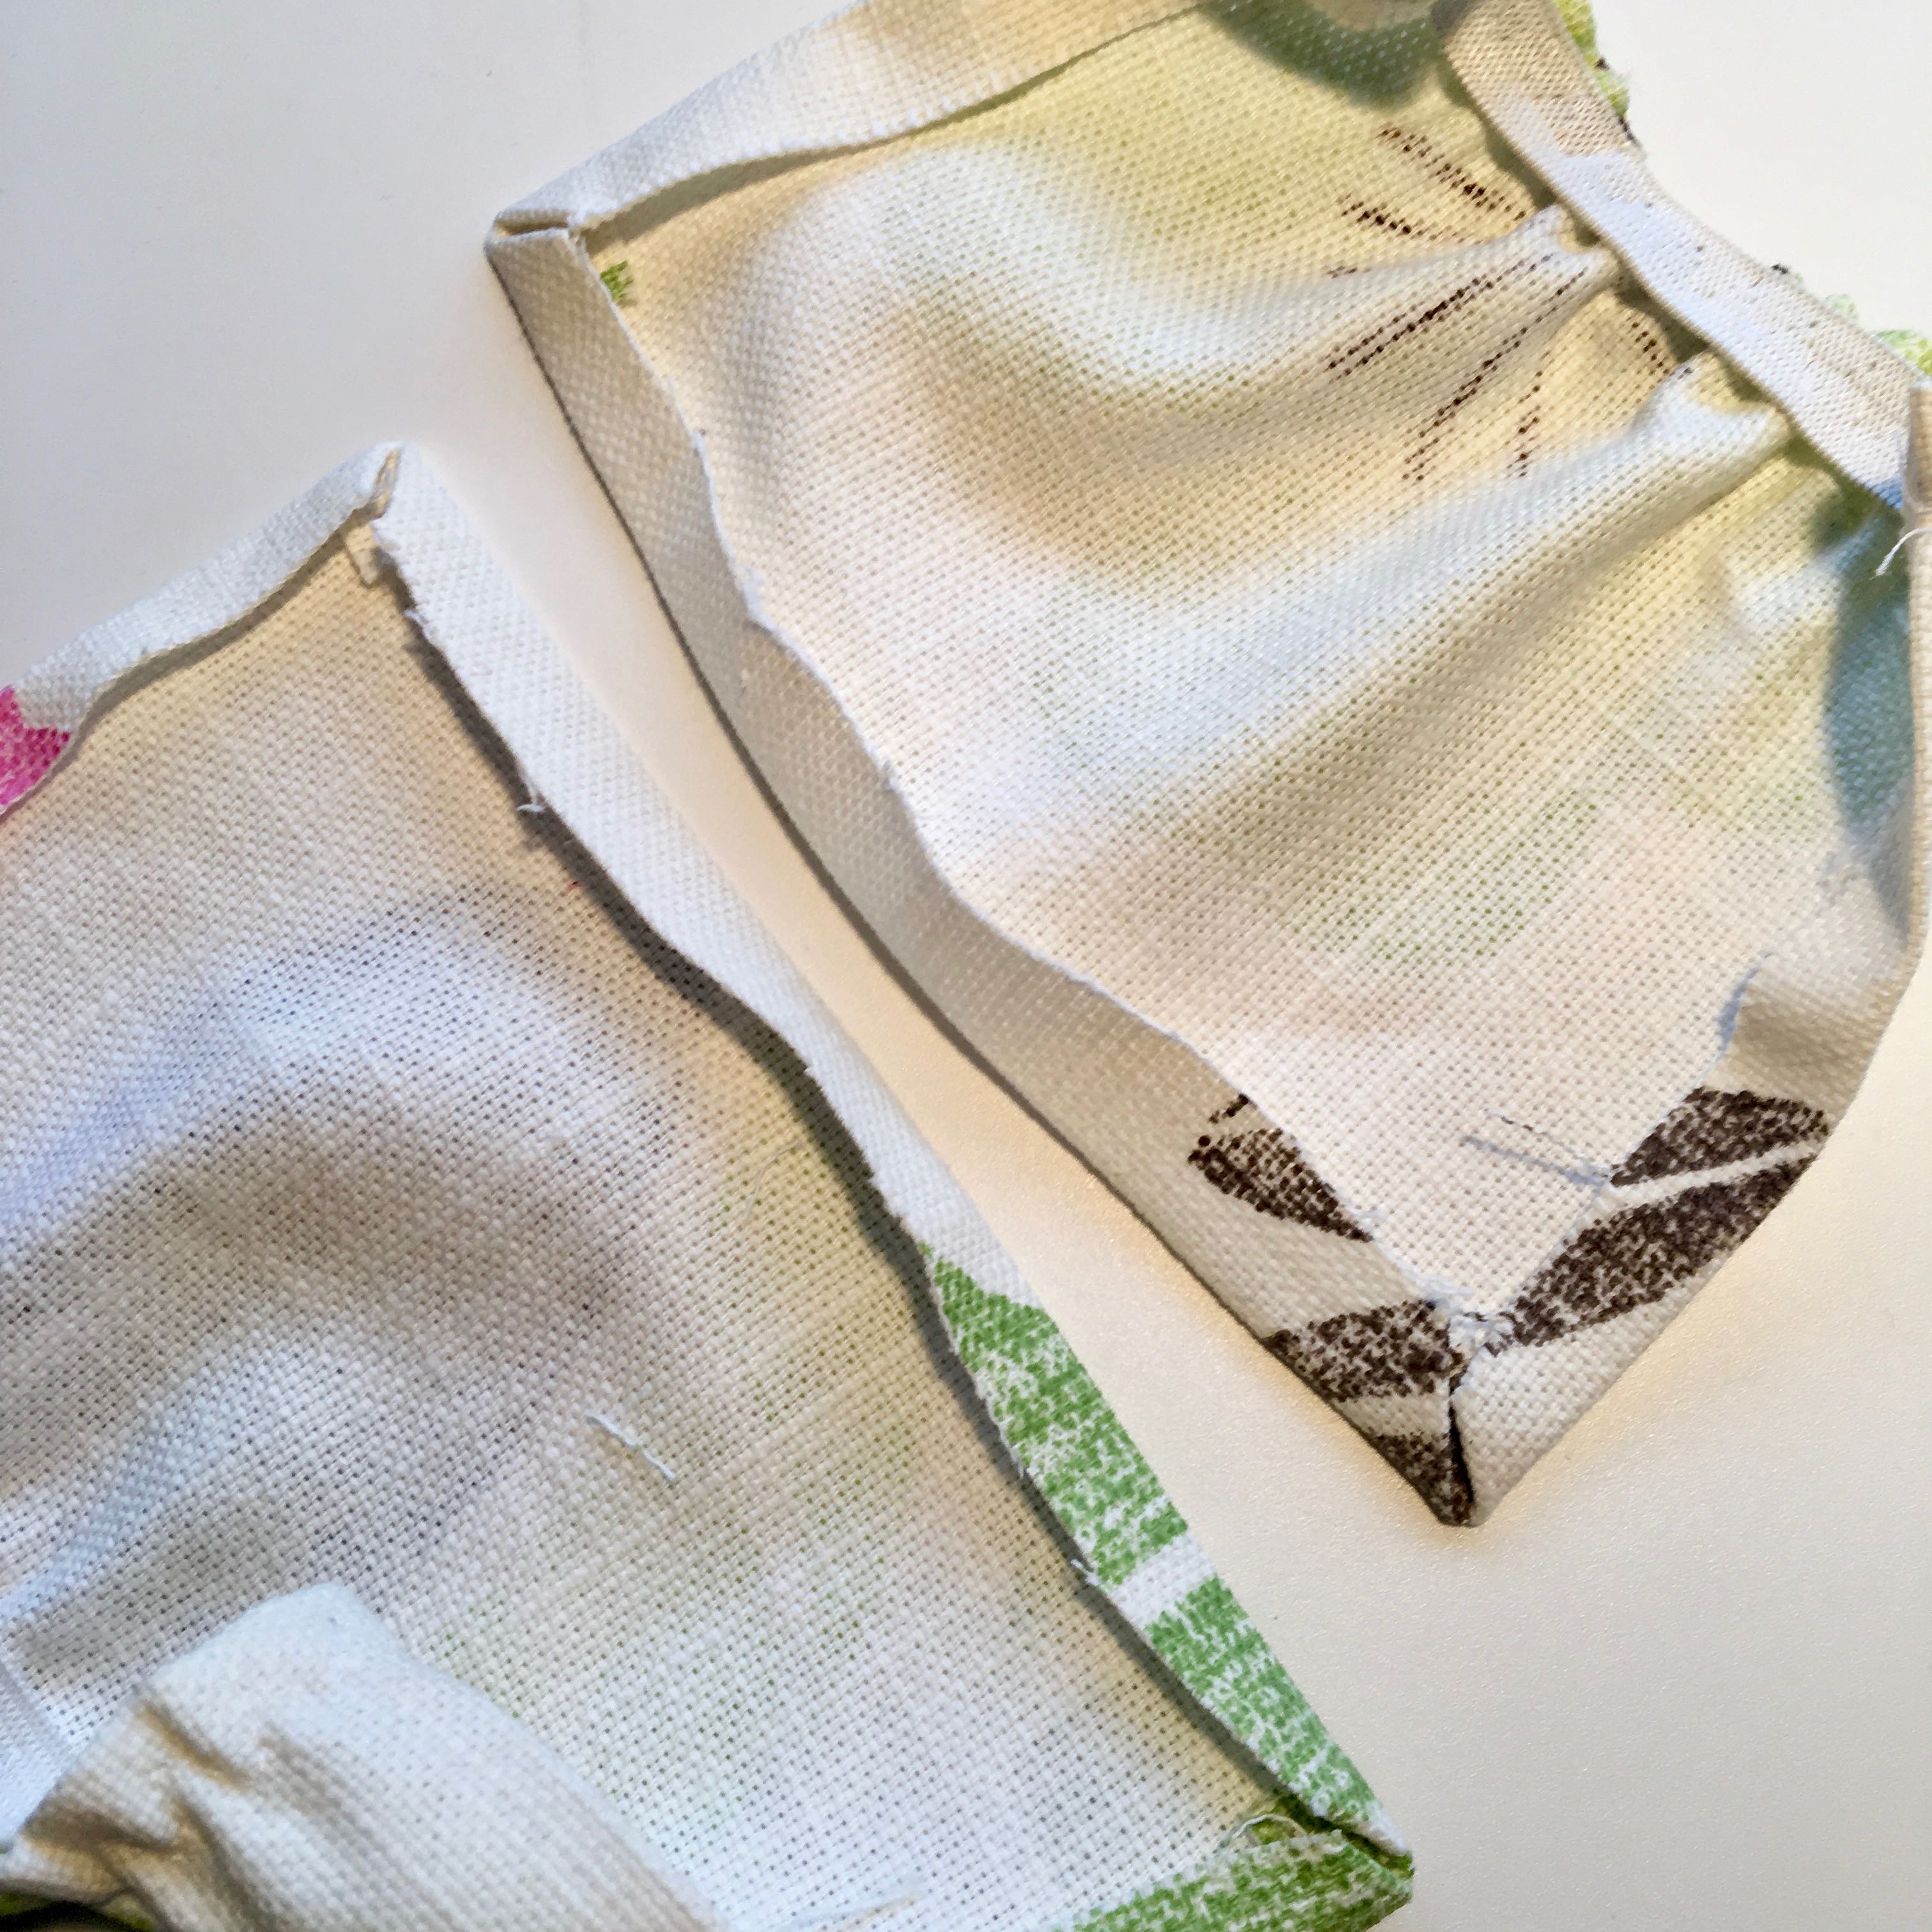
Edges pressed under, with mitred corners

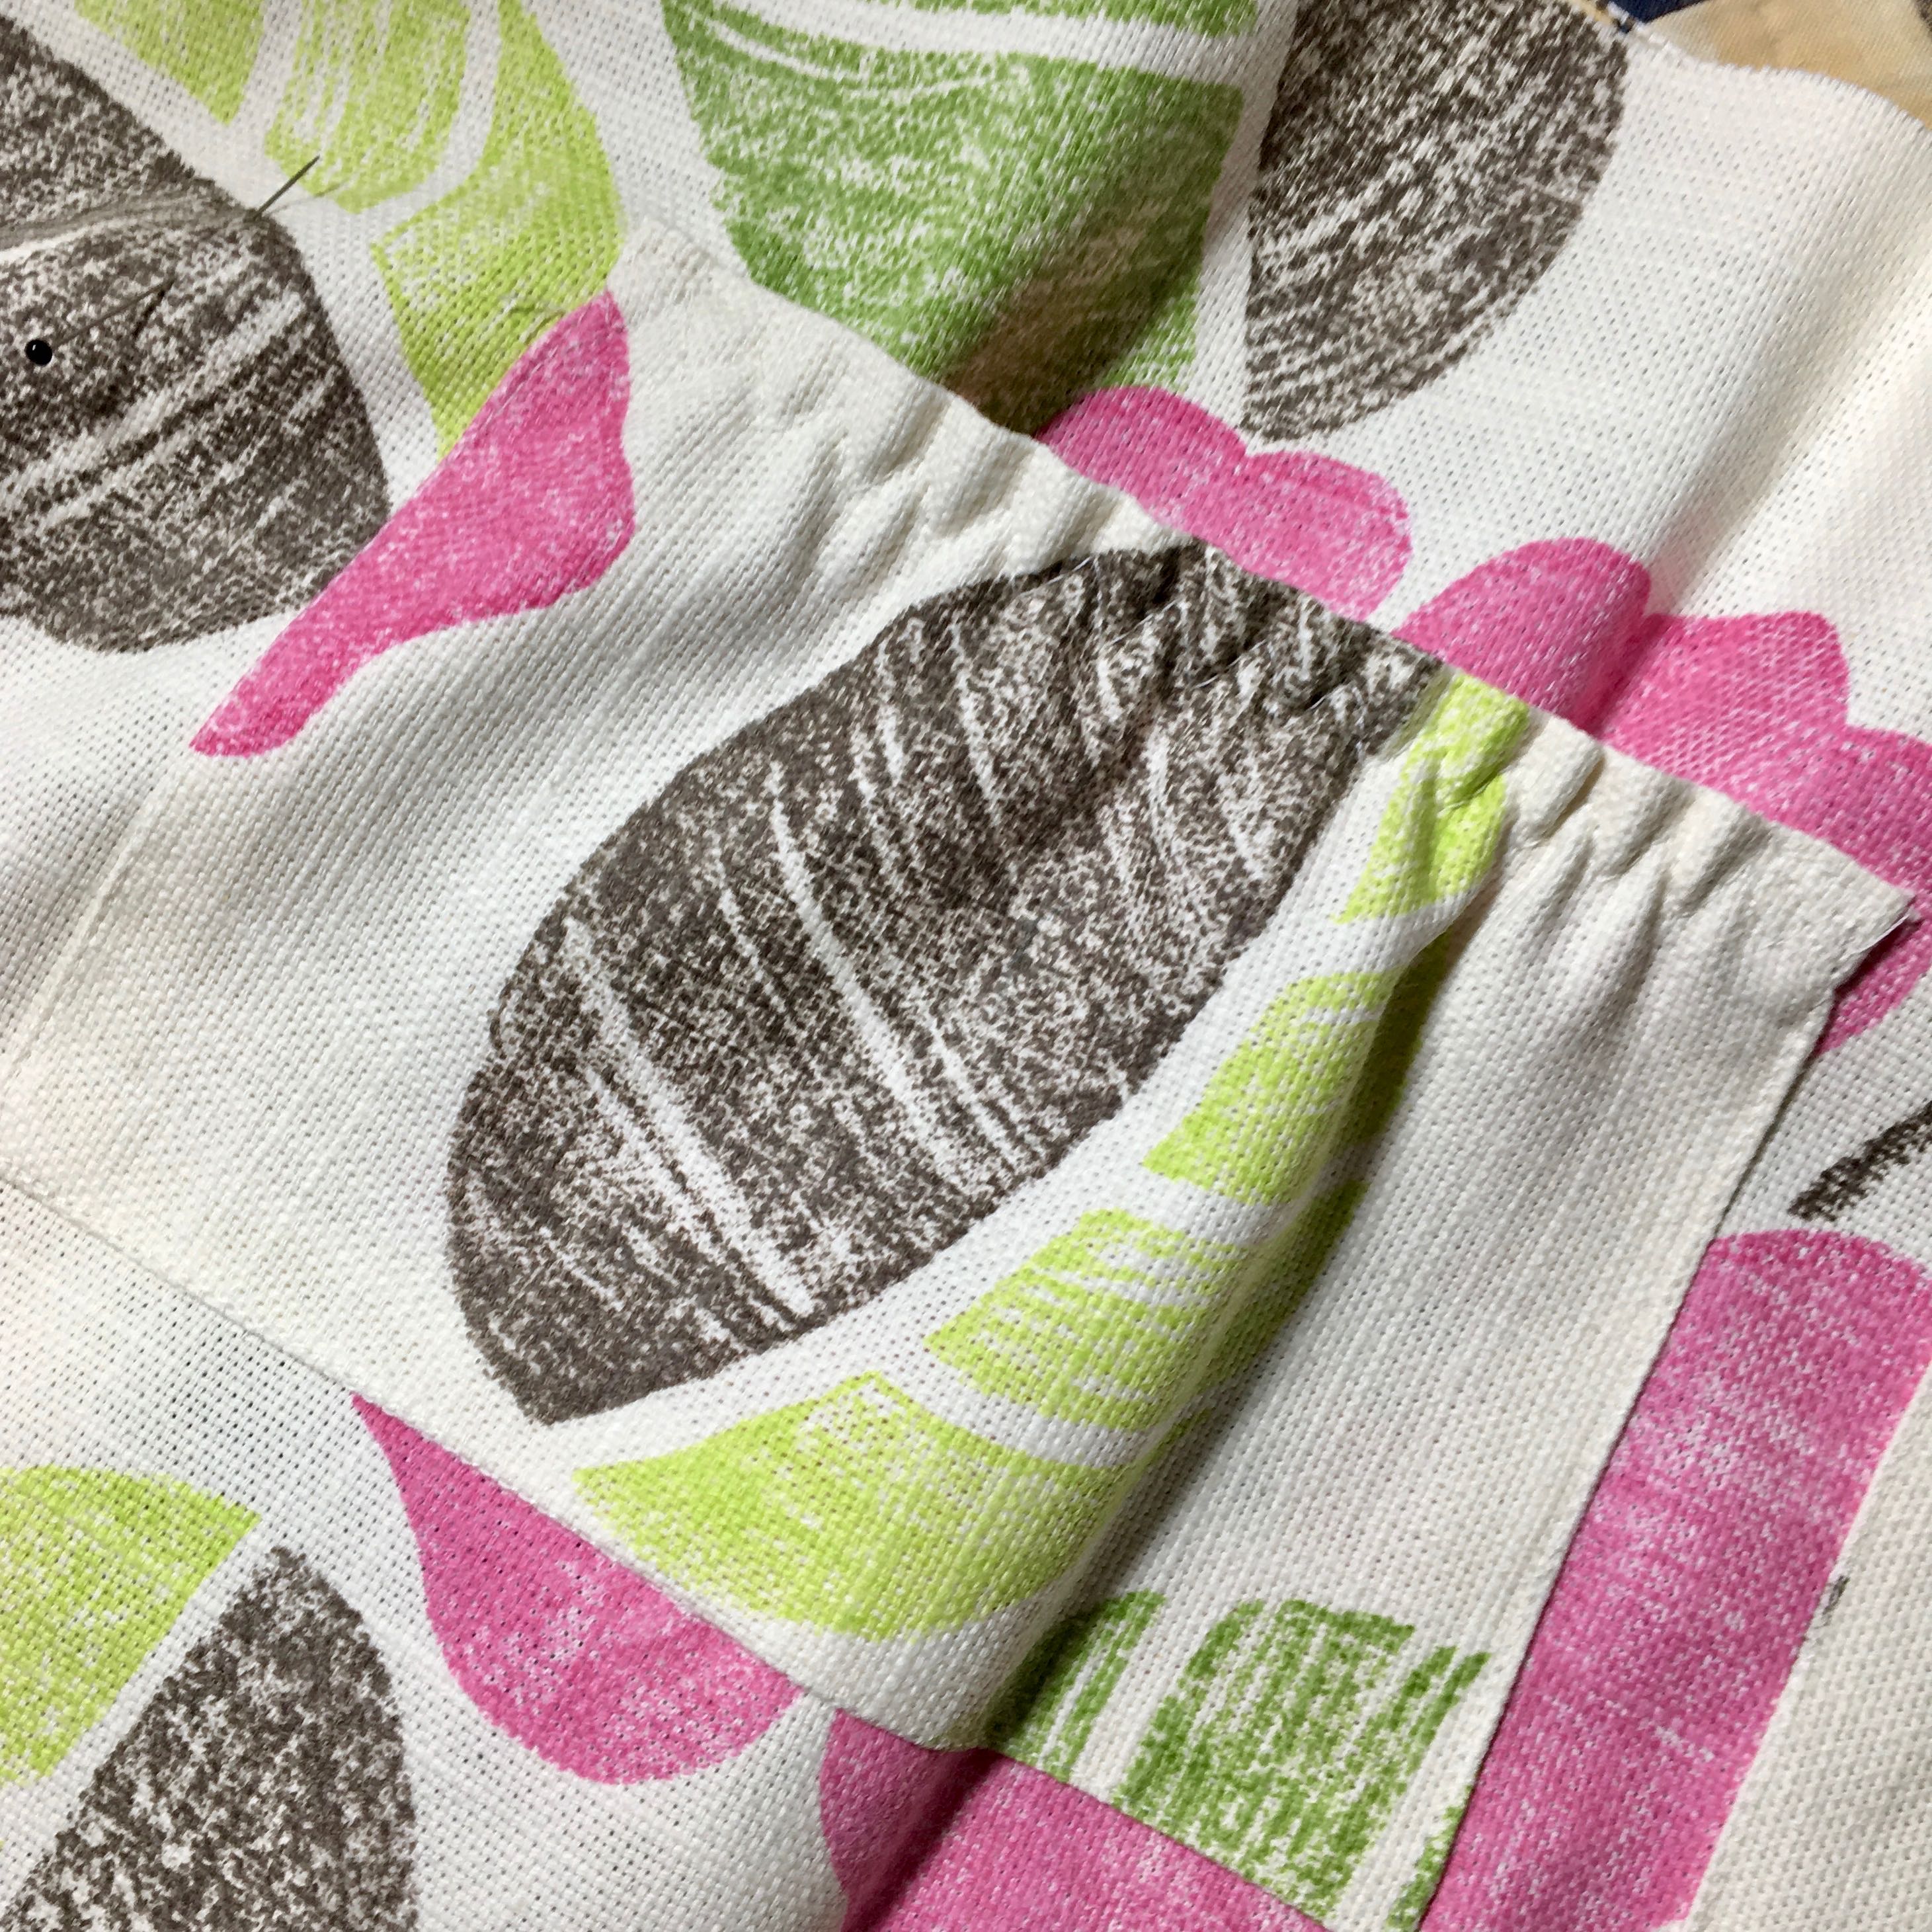
Pockets pinned in place
Pockets stitched down
Elastic pen loops
I marked the position for the elastic and stitched it down at half-inch intervals. I used a water erasable pen like this one (Amazon link)
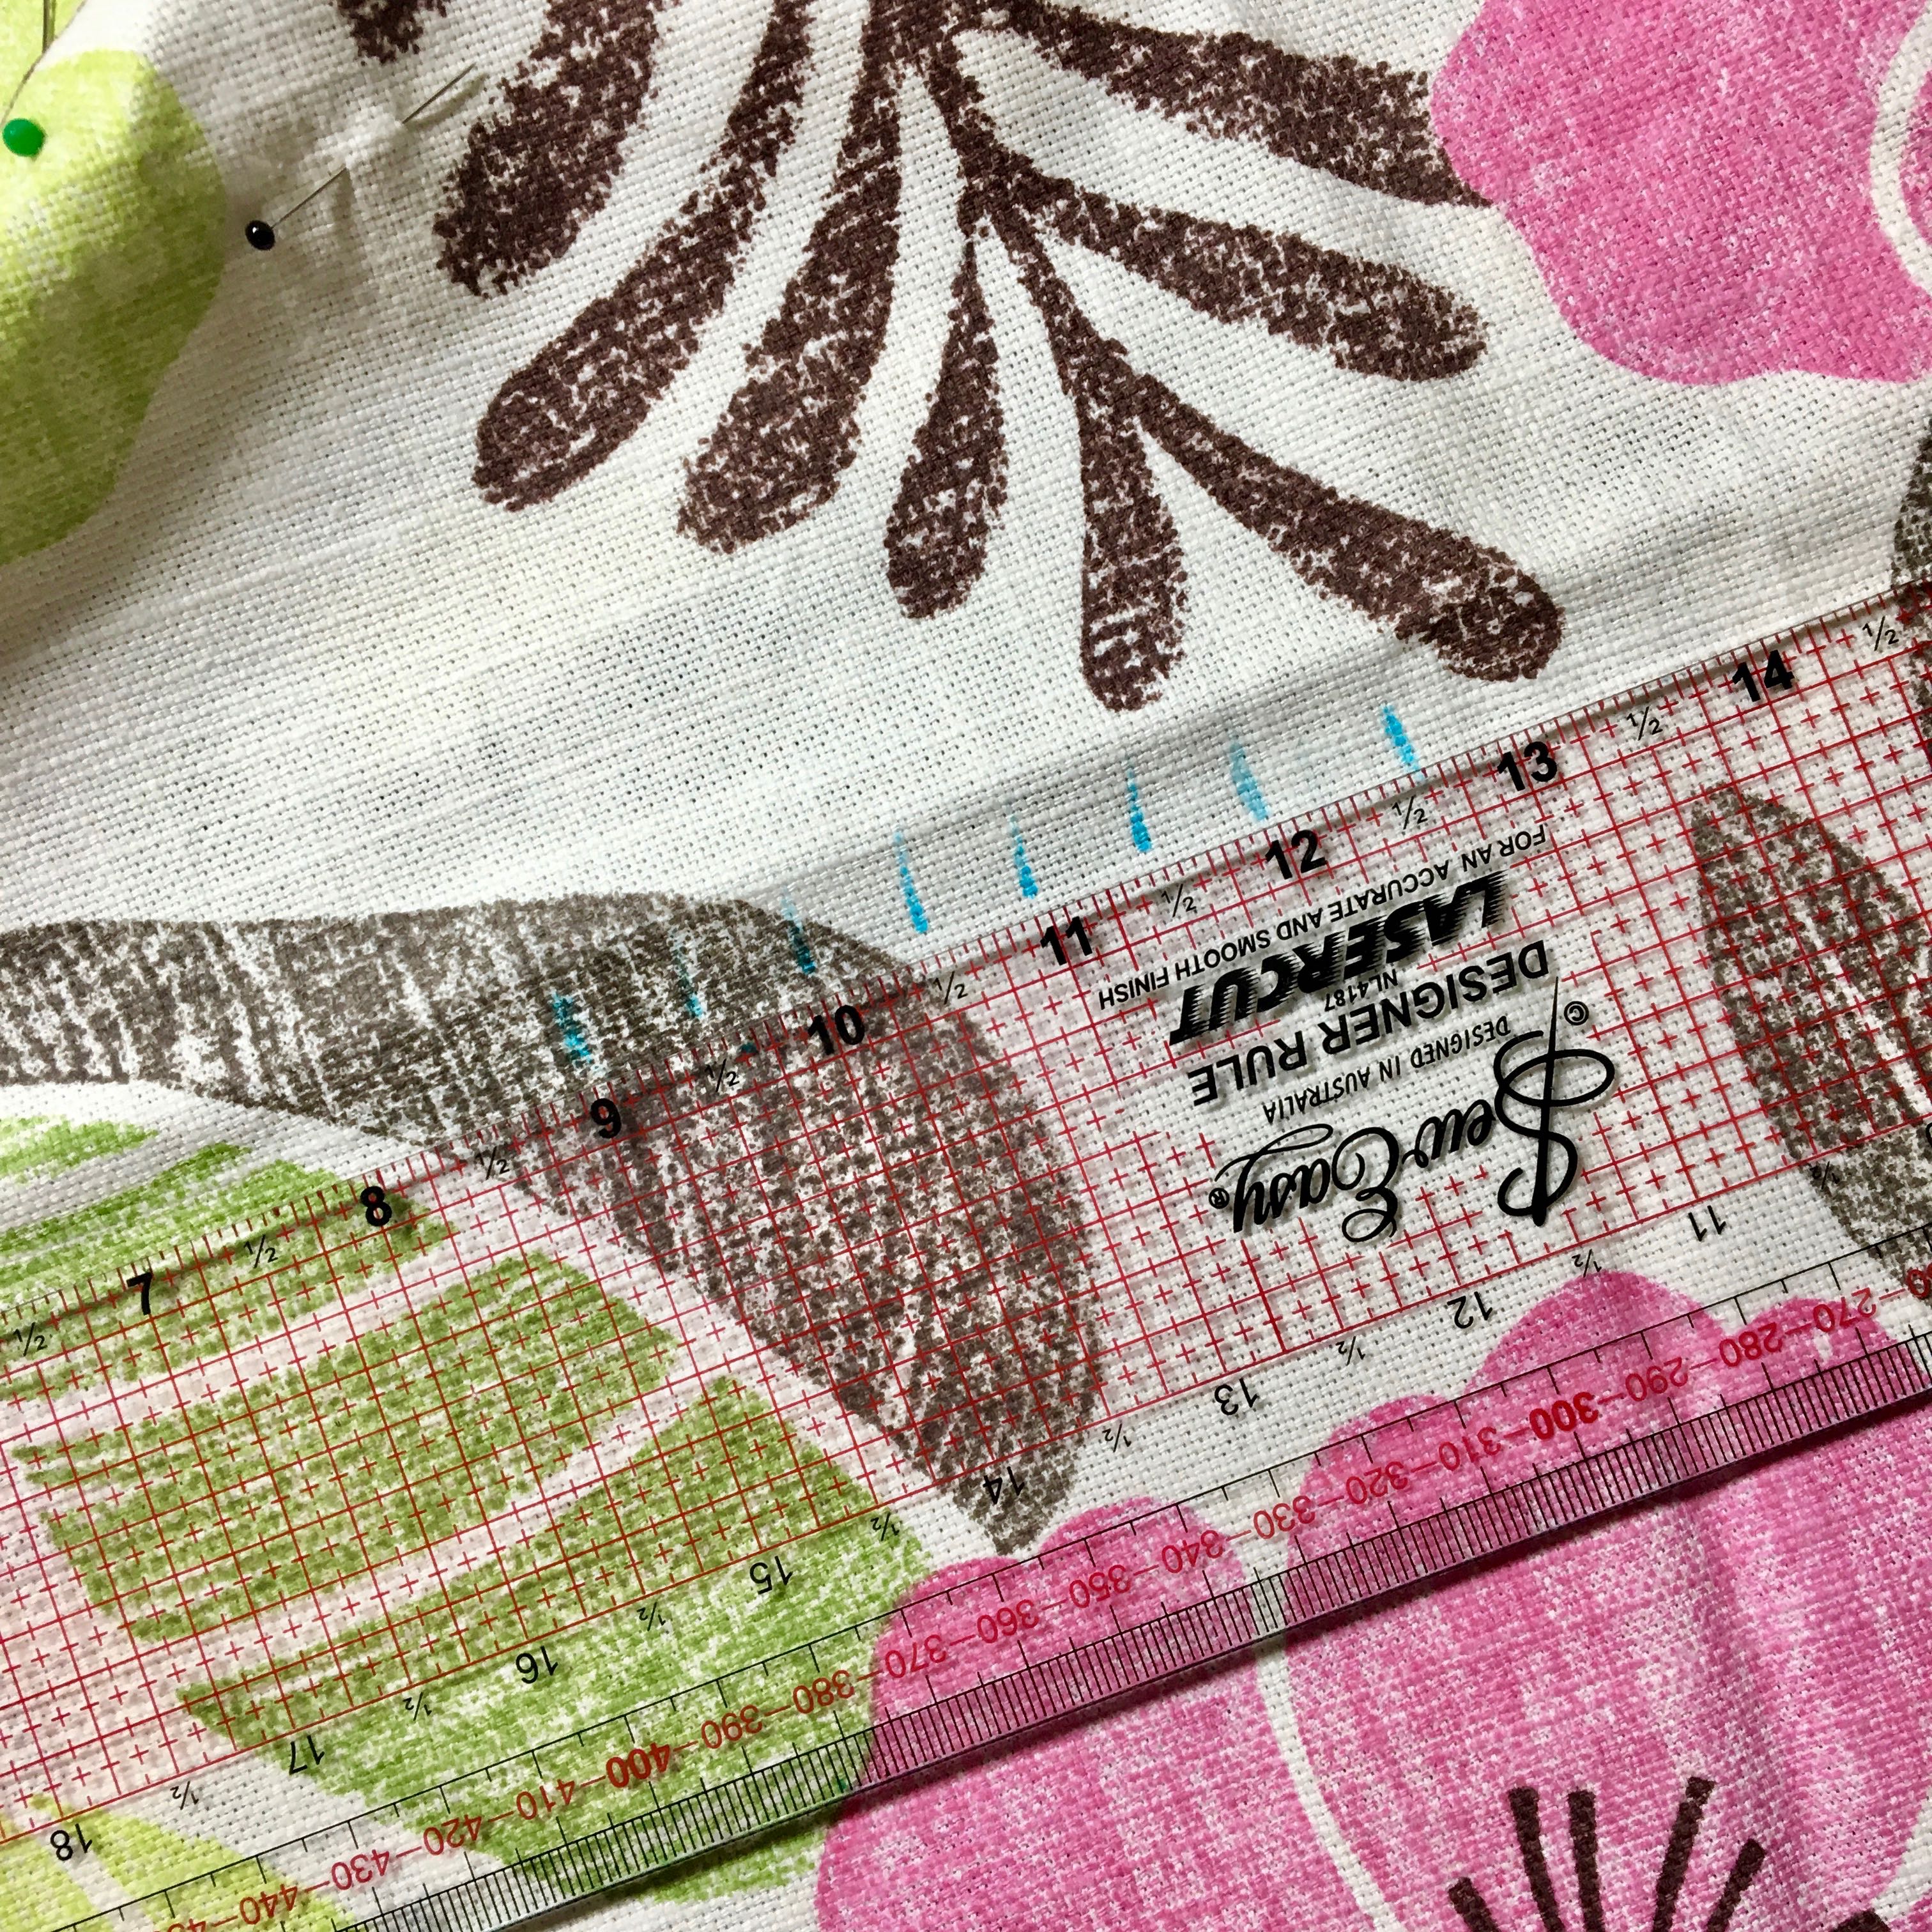
Stitching guide marked
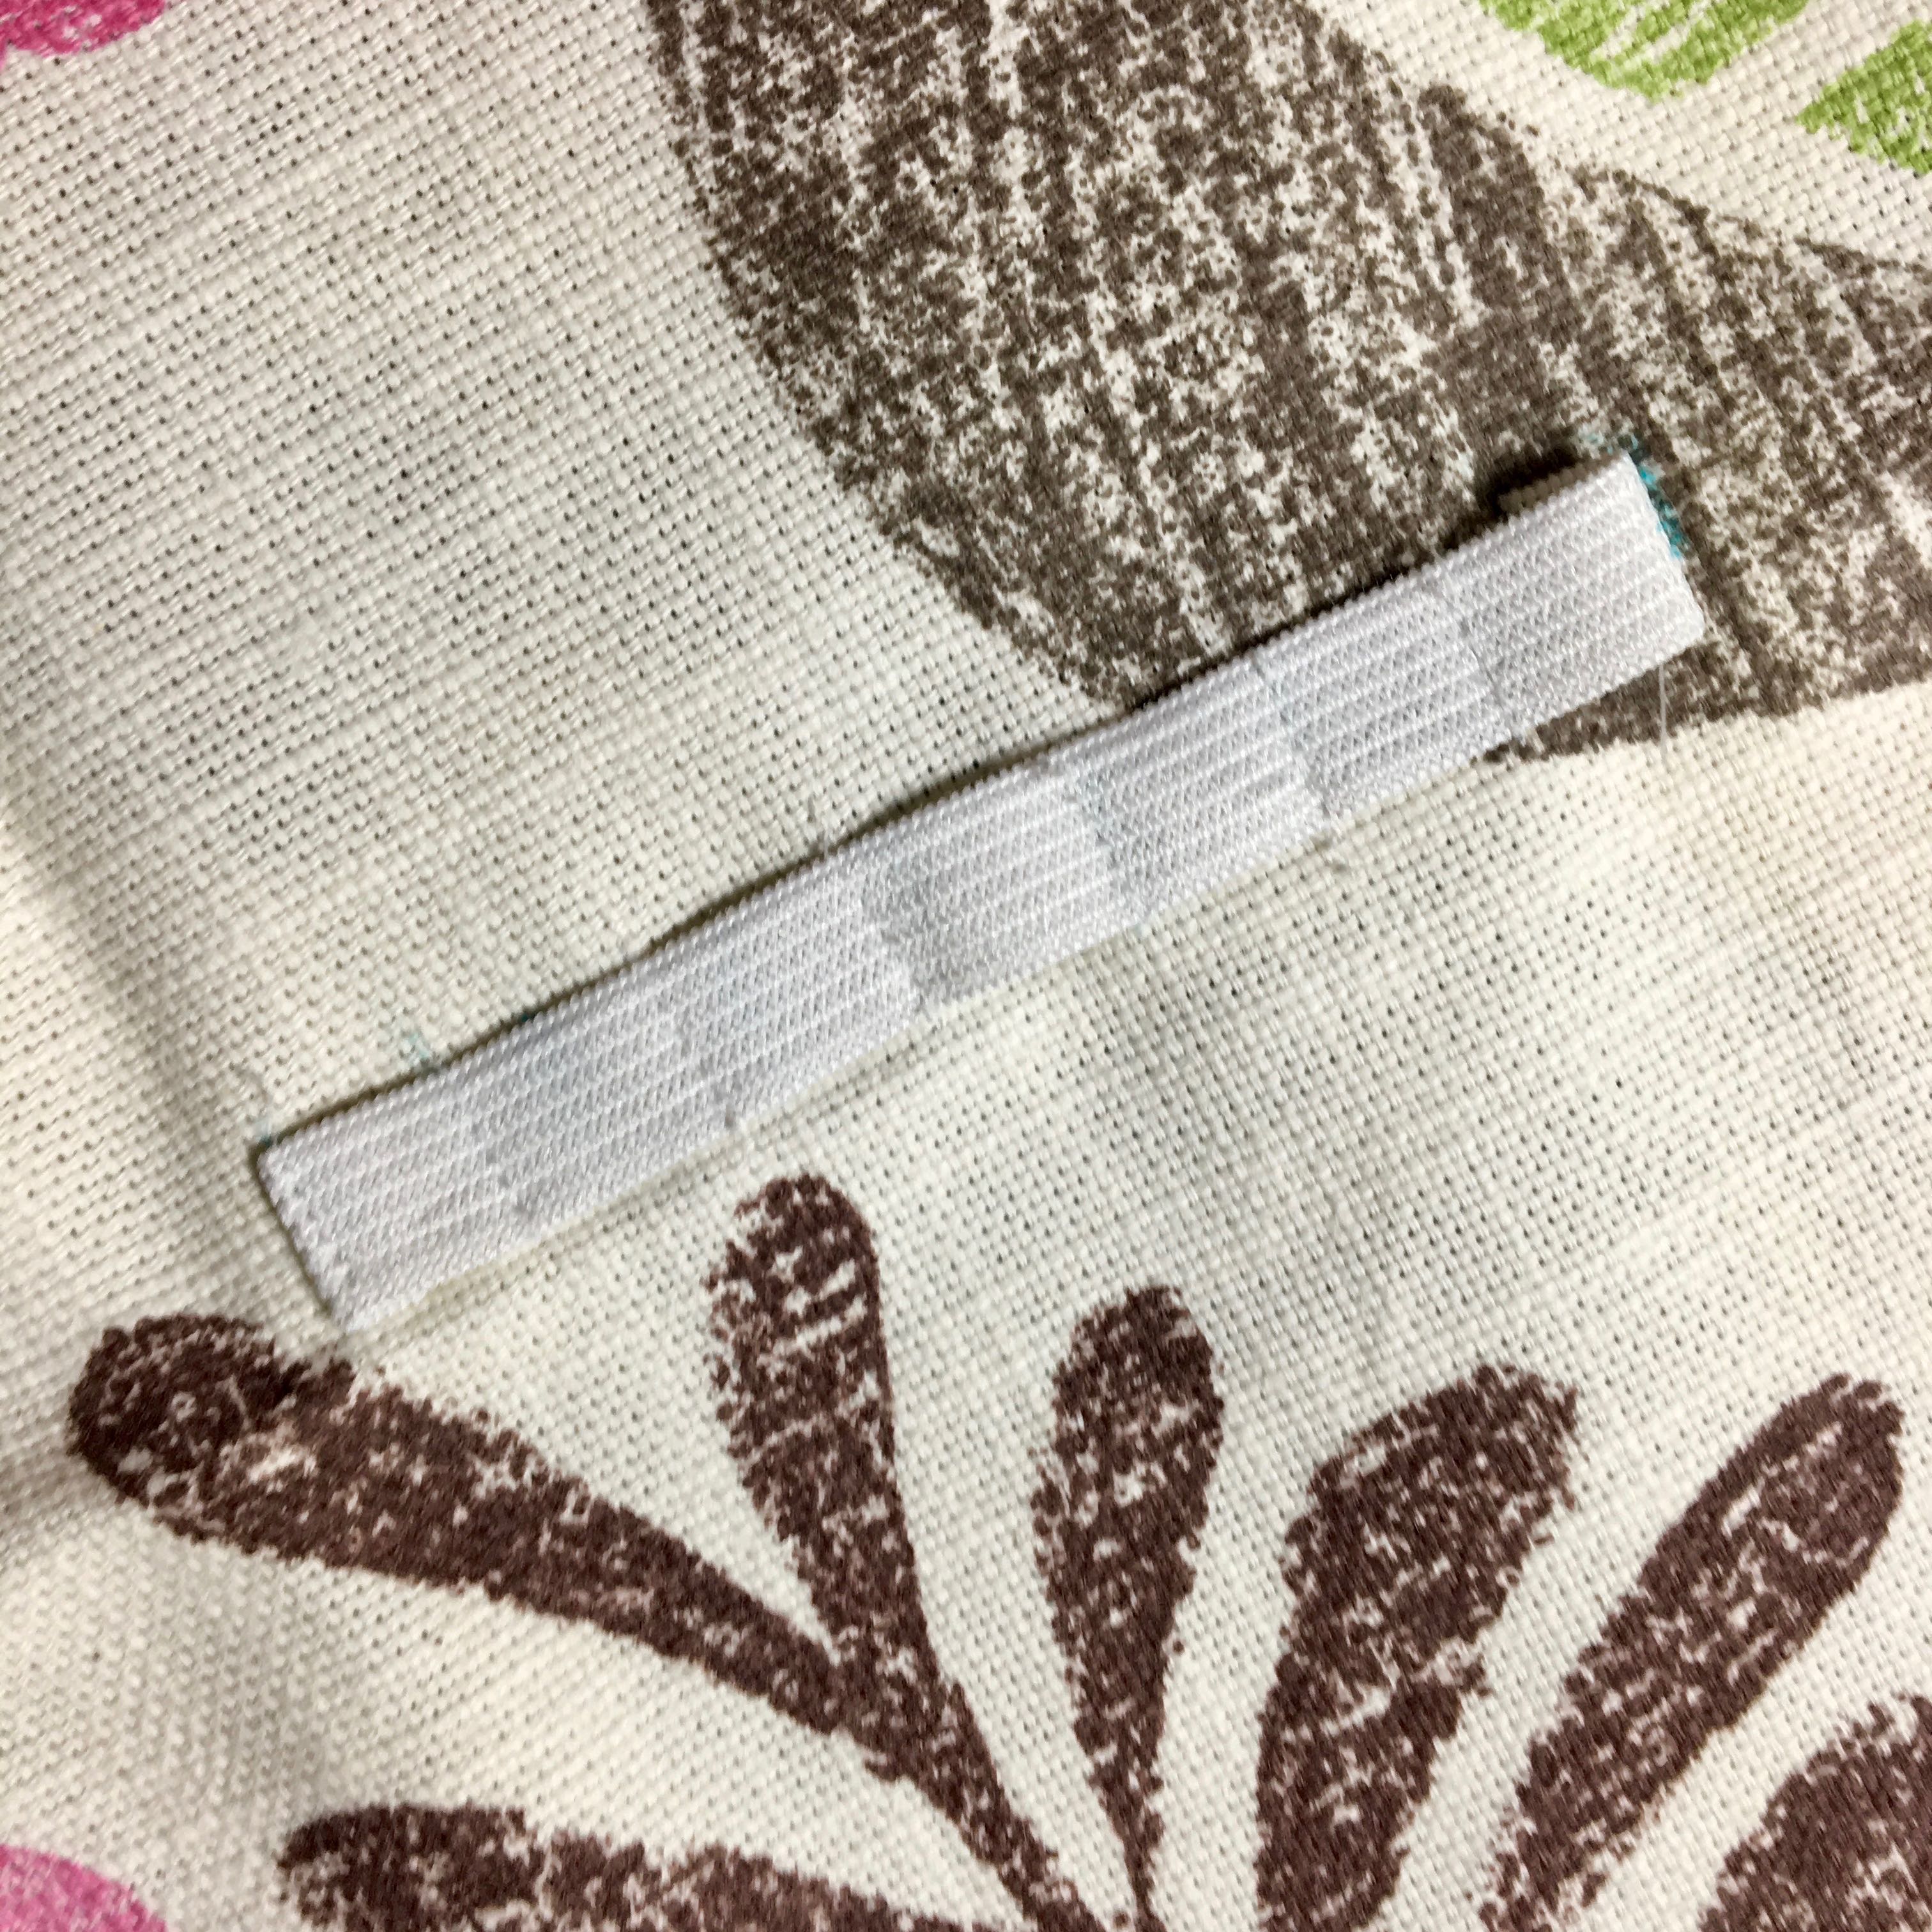
Loops sewn in place
Stitching the corners
I repinned the mitres right sides together, and trimmed off the corners.
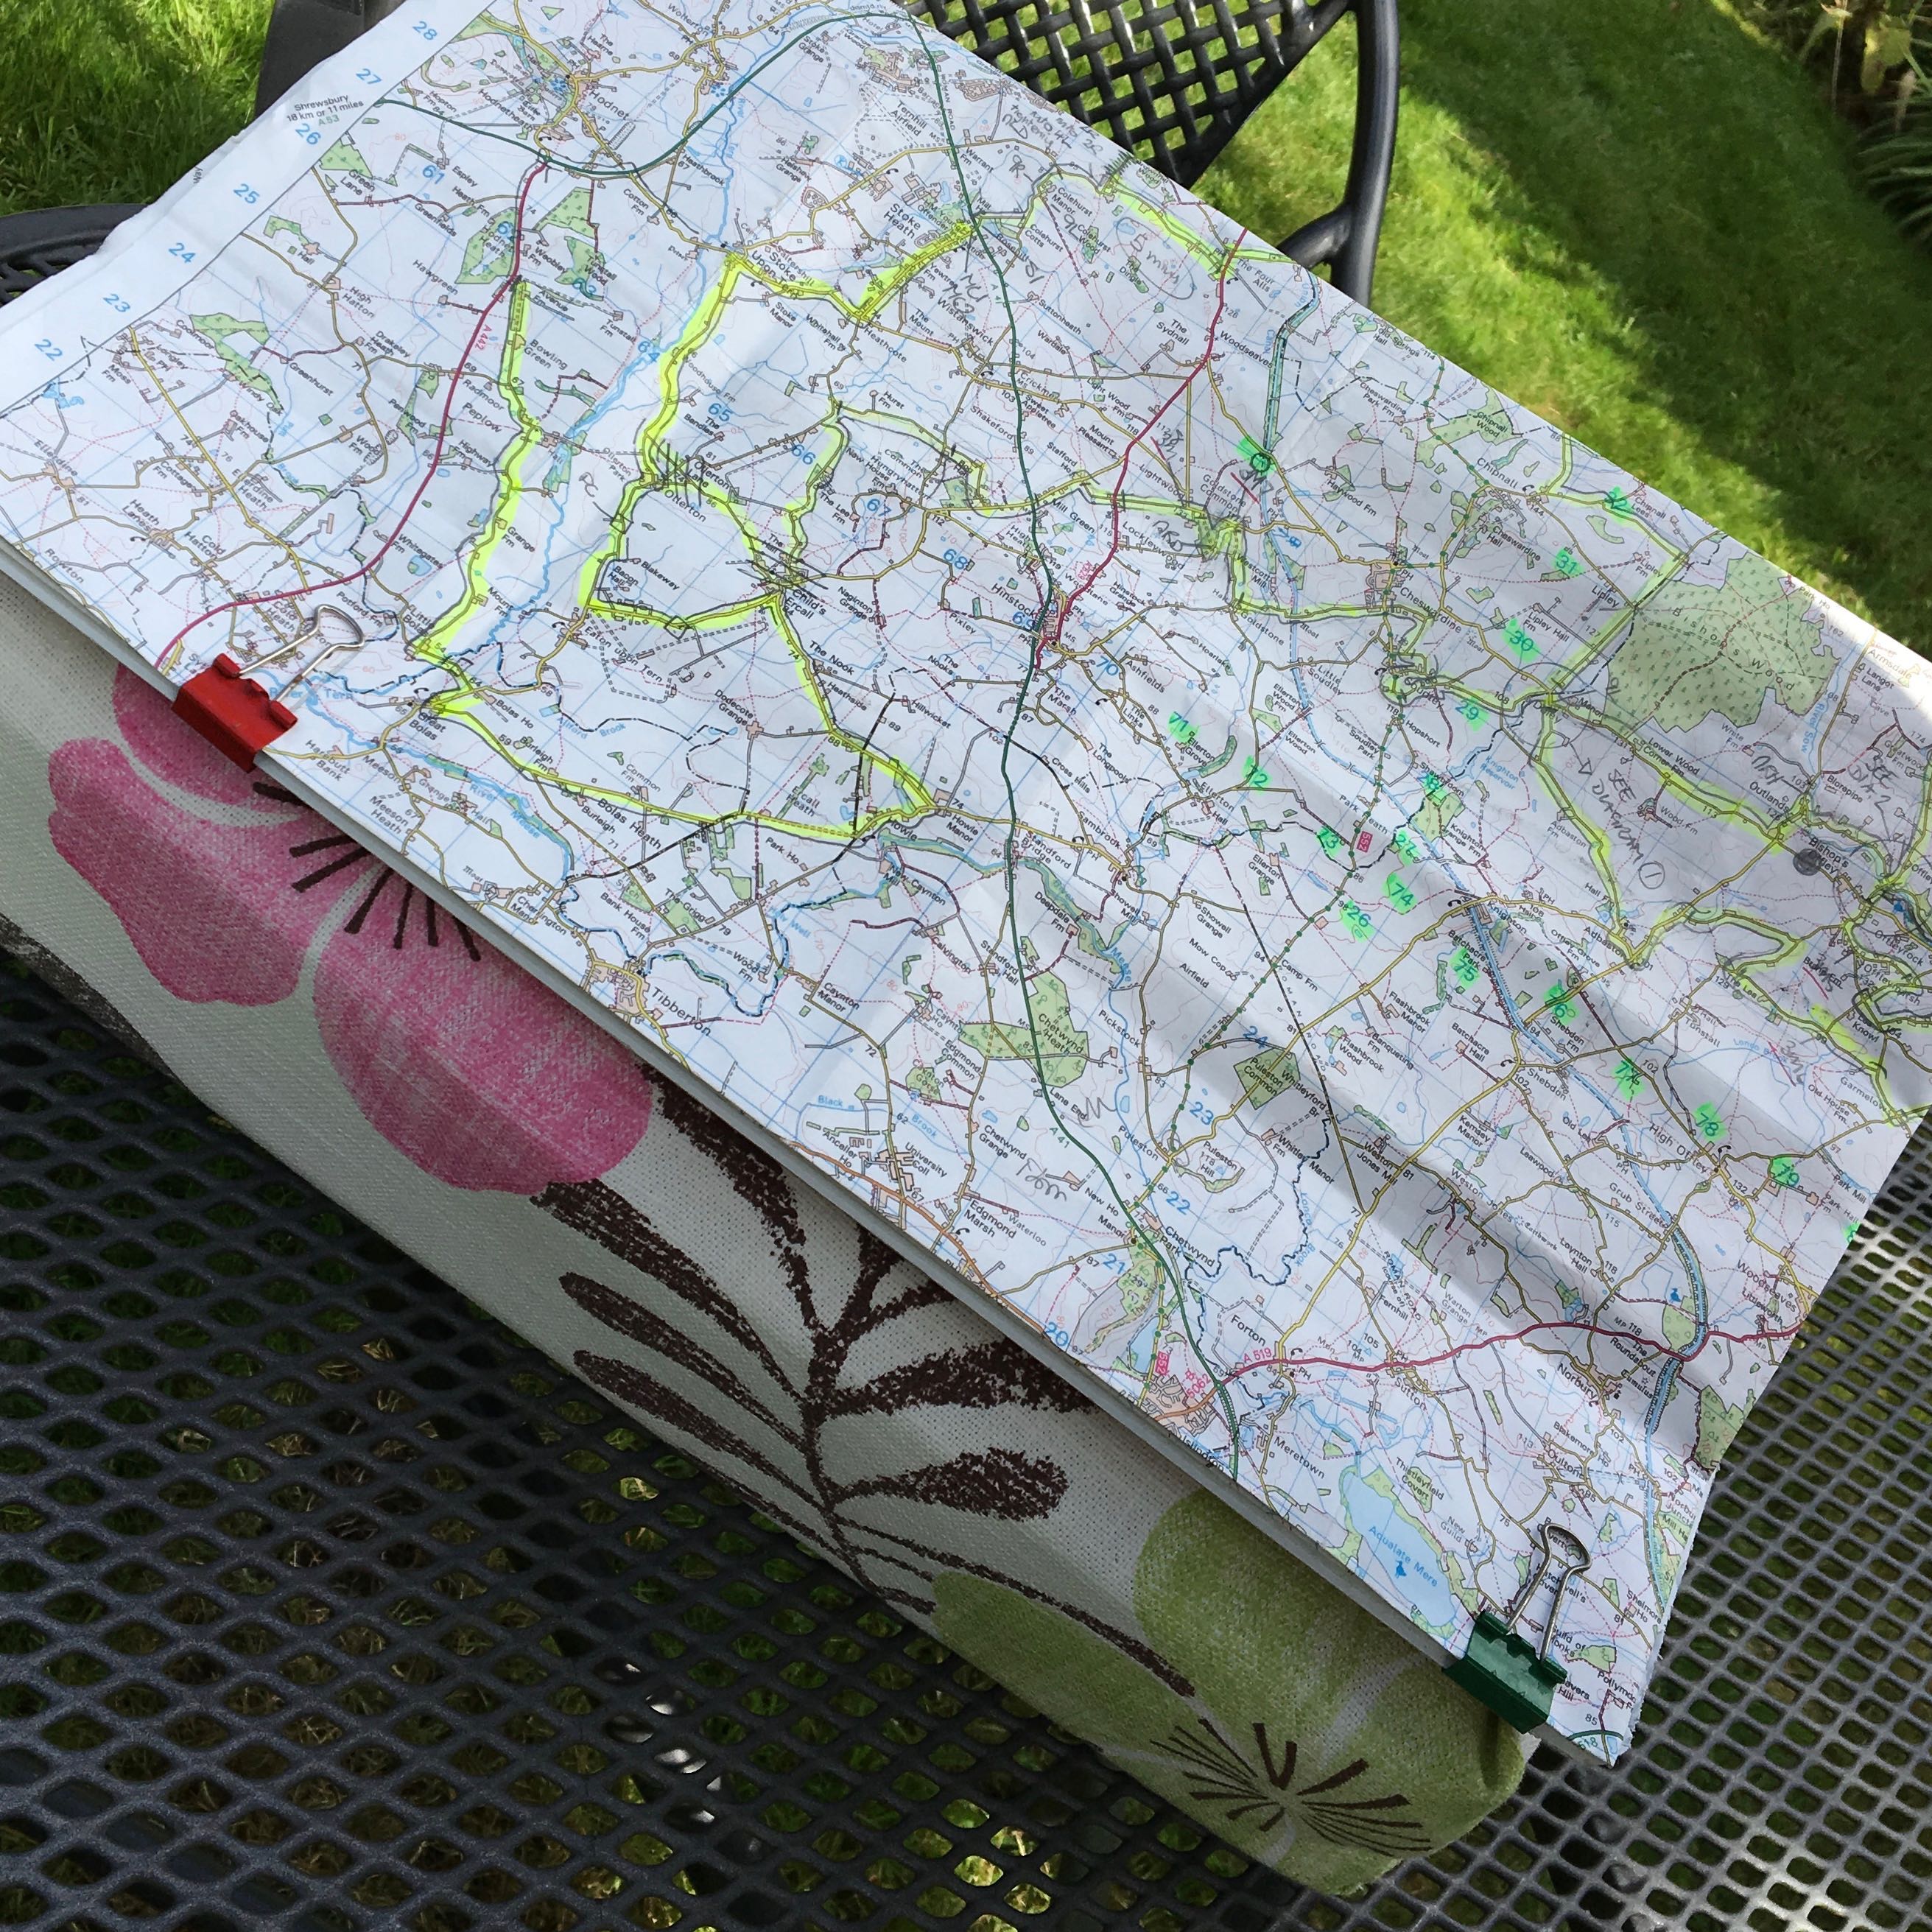
Finally, I fitted it around the foam, pinned the top edge in place and fixed on the map board with spray glue. I kept the glue away from the edges to leave space for bulldog clips.
You can see the pins marking the corners, the pocket pinned in place and the blue marks for the elastic placement.
The whole thing took not much more than an hour. (I had to be finished in time for Bake-Off).
What is road rallying?
A road rally is an official event, organised by a Motoring Club, that’s a test of navigational and driving skill. The whole thing takes place on the public roads during hours of darkness and involves a crew of two negotiating a plotted route through a series of controls, at an average speed across the event of not more than 30 miles per hour. The winners are the crew that reach the end in the time closes to the time allowed, with the fewest errors along the way. I started my navigating career when my new boyfriend asked me if I was any good at reading a map. We recently celebrated 25 years of marriage and with the kids grown up, I felt the urge to get back out in the lanes and see if I still had it. (We accumulated a few trophies back in the day).
Many famous rallying names started their motorsport careers in road rallying. Where we are, in Shropshire/MidWales, road rallying is thriving, with events most Saturday nights. If you’re interested in cars or motorsport, I can highly recommend going along to watch. Most events will have organised and well-marshalled spectator points at locations where you’re virtually guaranteed some entertaining sights.
There’s more information here. It’s old but good and still relevant.